How to make an image popup on a Webflow site without a developer
A step-by-step guide to an image popup on Webflow: install one line, paste the image address in the Clew editor, choose the size and the side, and decide when it shows.
- Time
- ● 10 minutes
- Price
- 14-day free trial, no card
- Who does it
- Webflow site admin
Example: an image popup on Webflow
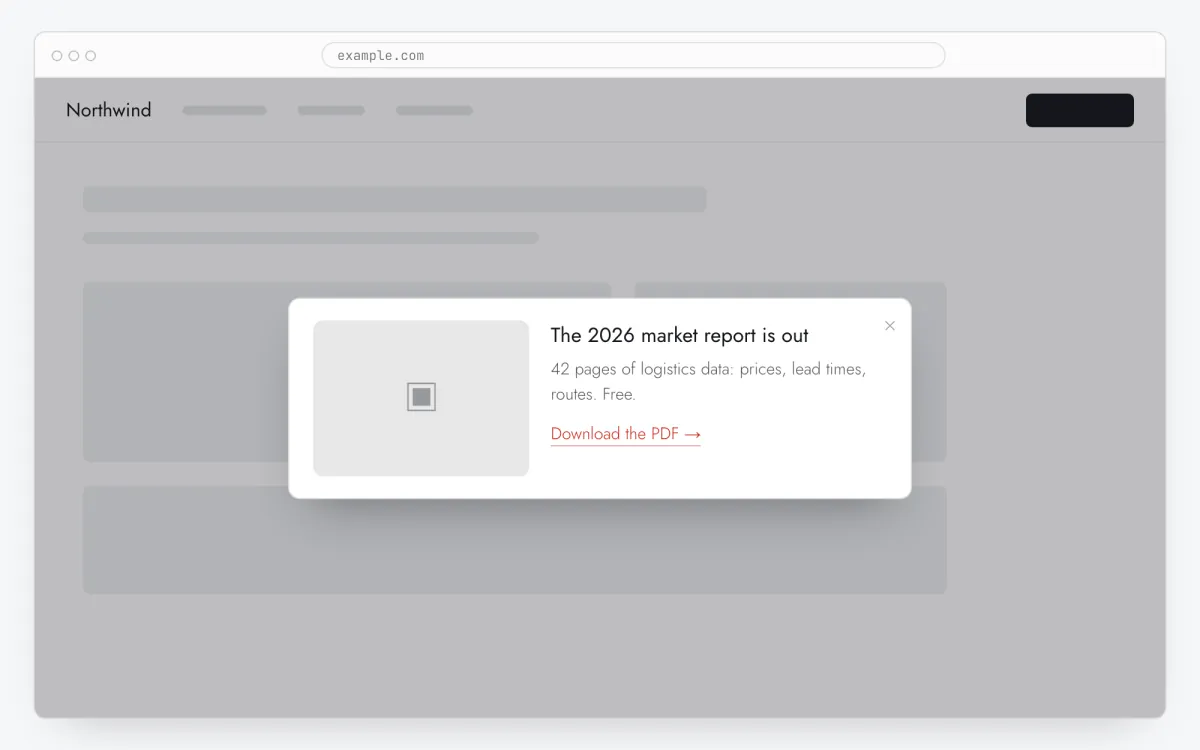
A product site explains a new feature: on the home page, at 50% scroll, a modal opens with a screenshot of the new dashboard above two sentences about what it shows, and a button to the changelog. The screenshot is hosted in Webflow’s own assets, so the file and the site live in the same place.
https URL only — the file stays yours, in your CDN, your media library, your cloud. You can replace it any time without touching the tour, and we do not become a file host that would one day need moderating.This format is part of the Pro plan. Every new account starts with a 14-day free trial with all formats and audience rules, no card required. When the trial ends nothing is deleted and published items keep showing; the Free plan keeps tours and tooltips free.
How to add an image popup on Webflow, step by step
- Step 01
Copy your Clew snippet
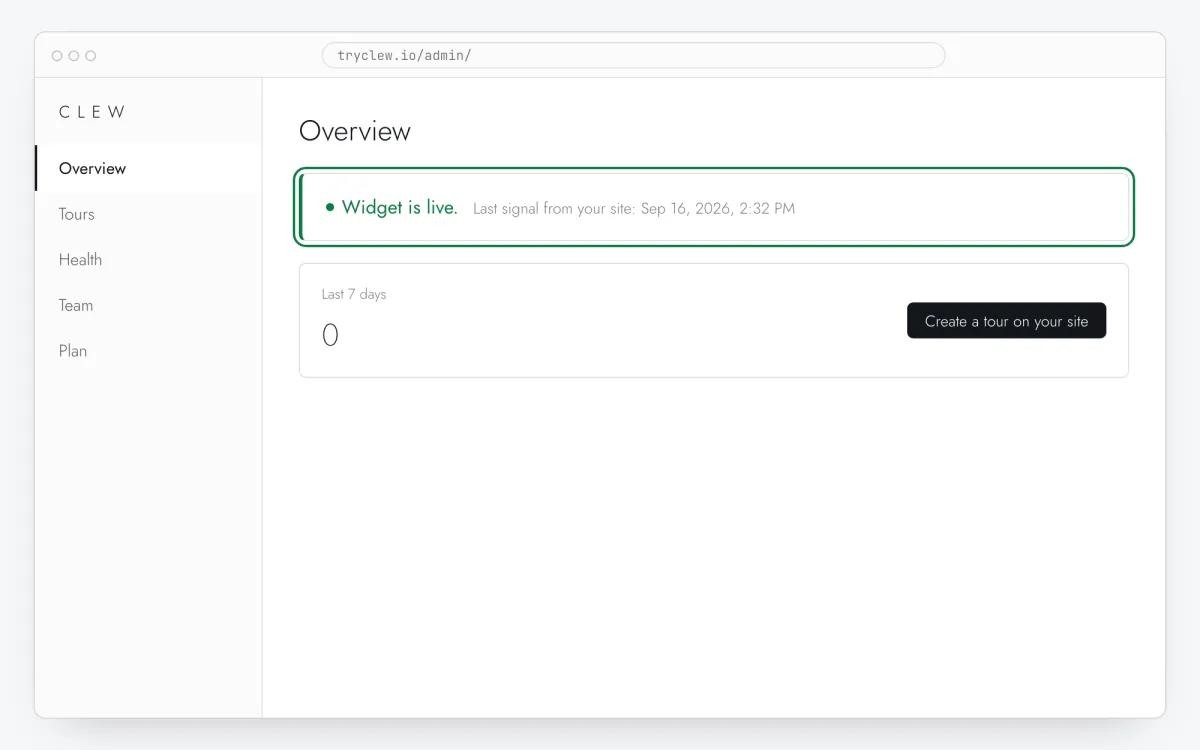
Create a free account (or sign in), add your site and open Admin → Overview. Click the line in the “No signal from the widget yet.” card to copy it — it carries your real site key instead of the placeholder.
<!-- Clew: replace PASTE_YOUR_SITE_KEY with the site key from Admin > Overview -->
<script src="https://tryclew.io/widget/PASTE_YOUR_SITE_KEY.js" async></script>
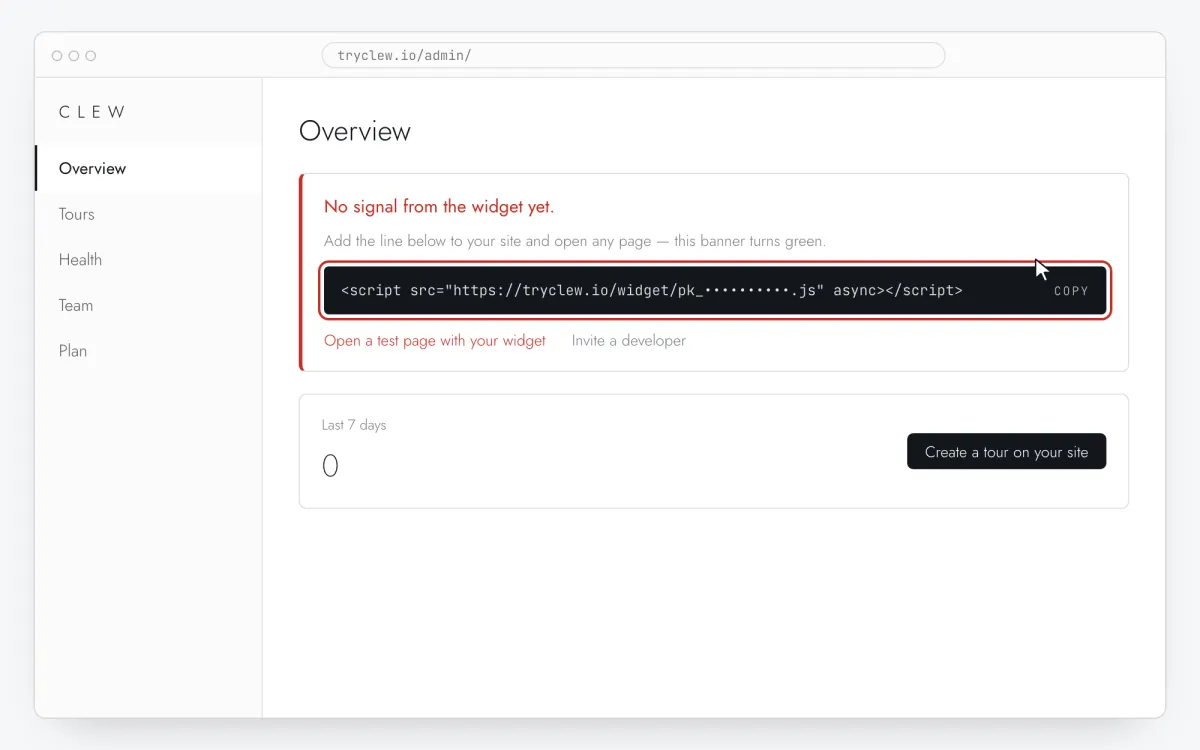
Step 1 · schematic illustration - Step 02
Open Site settings → Custom code
In the Webflow dashboard open the site’s Site settings and the Custom code tab. Custom code requires a paid Site plan.
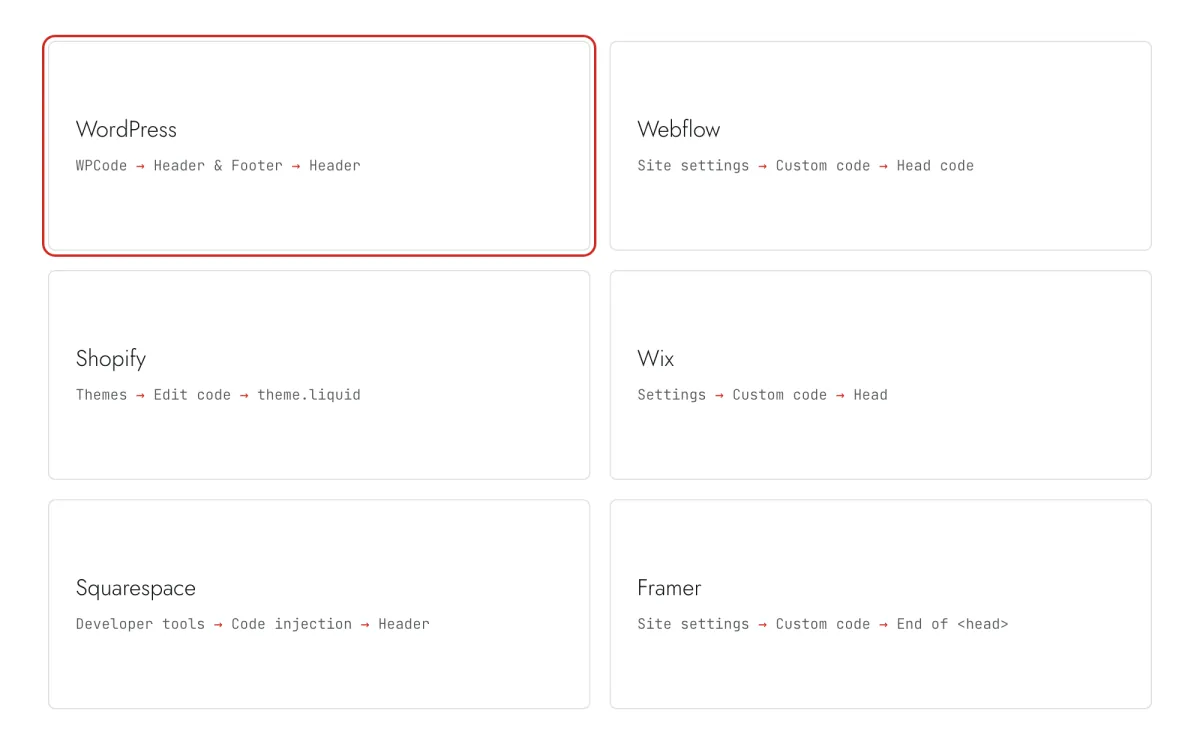
Step 2 · schematic illustration - Step 03
Paste into Head code
Paste the Clew line into Head code and press Save changes.
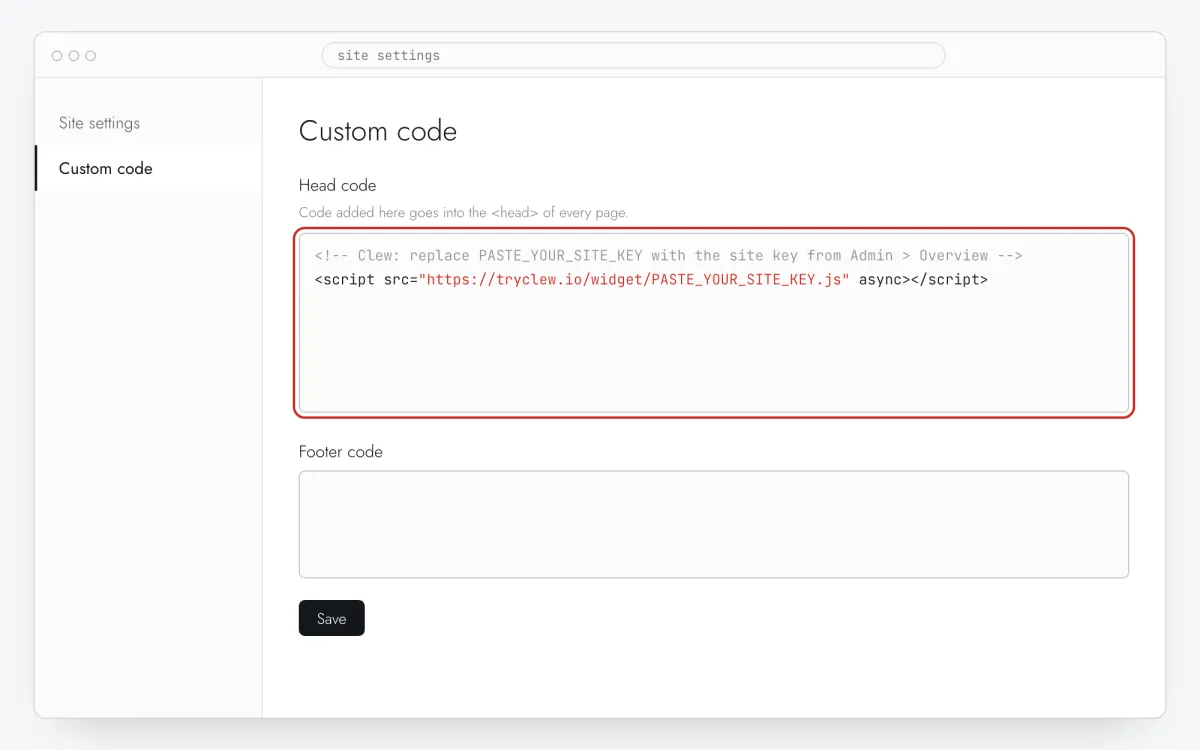
Step 3 · schematic illustration - Step 04
Publish the site
Custom code reaches the live site only after Publish — to your custom domain and to
webflow.ioif you use both.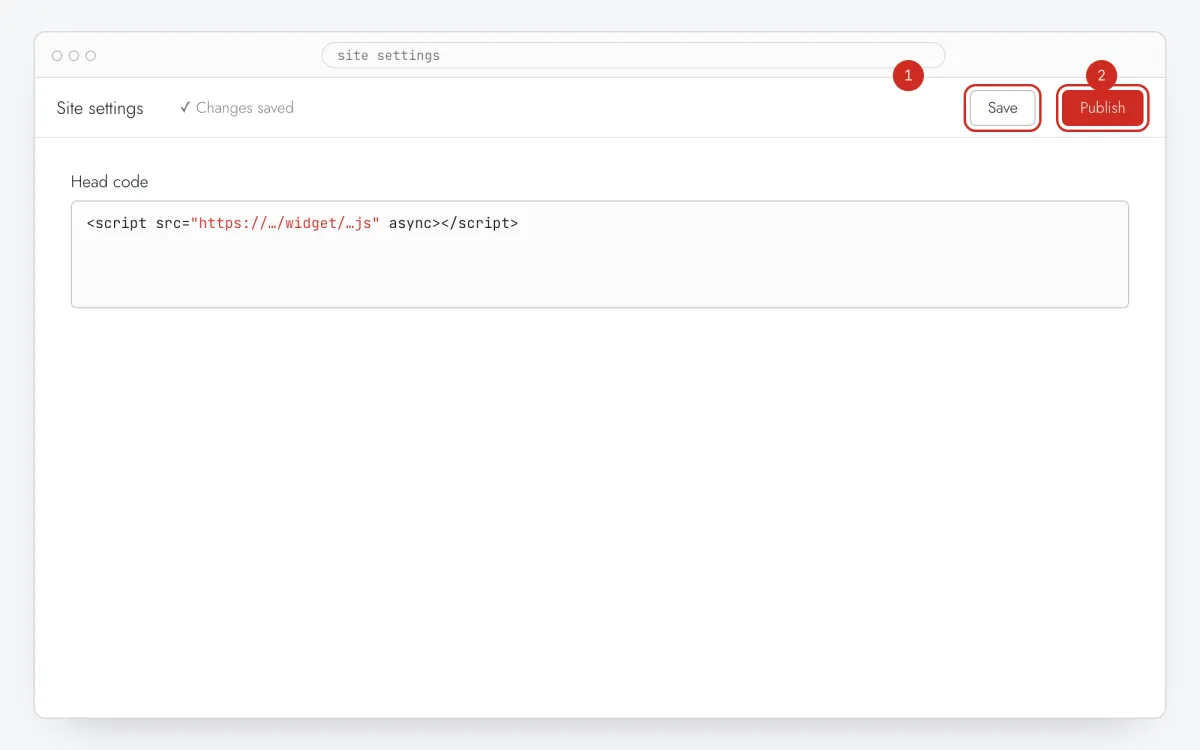
Step 4 · schematic illustration - Step 05
Build the window in Clew
In Clew open Flows → + New flow and set Format to Modal window. In the step write Title and Text, paste the image address and choose its size and side. Set the button in Link text and Link URL.
Step 5 · schematic illustration - Step 06
Choose where, when and for whom it shows
In the same editor, set Where to show (page URL), When to show, Audience targeting and Frequency. These are the settings of the example above:
Setting Value Format Modal window Where to show (page URL) Exact path /When to show After scrolling N%: 50 % of page Audience targeting No rules — everyone who opens the page Frequency Once per visitor 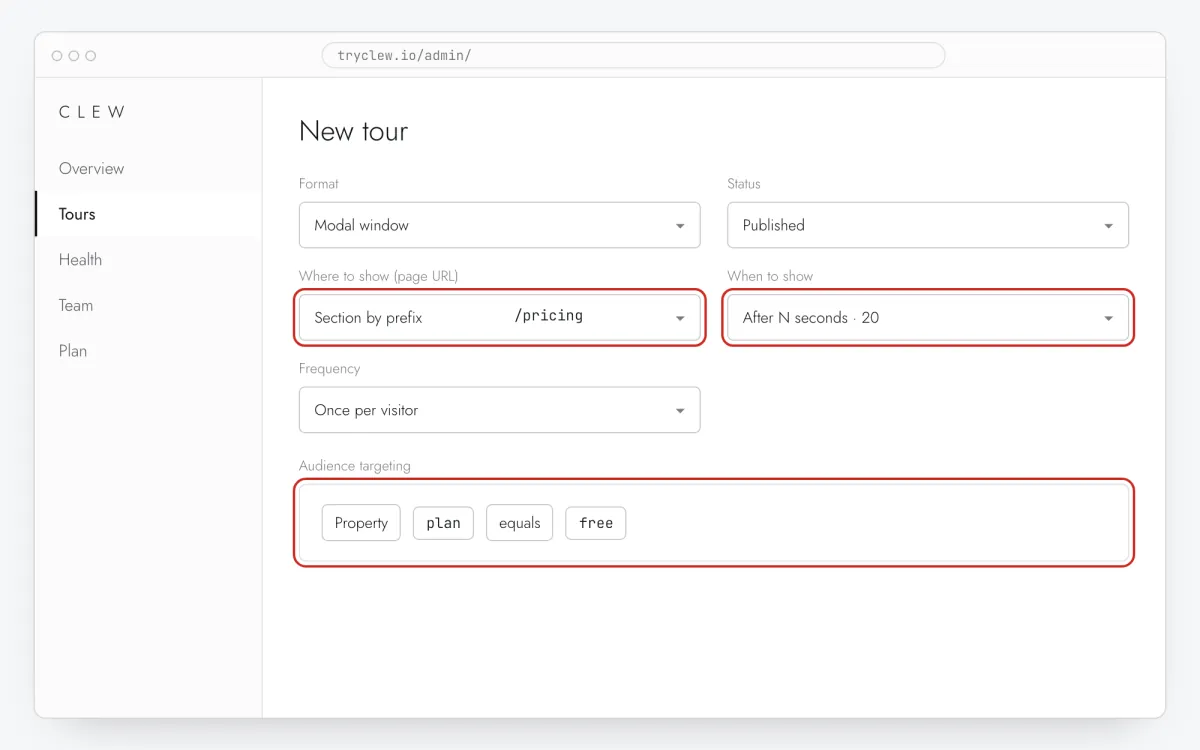
Step 6 · schematic illustration - Step 07
Publish and check it on the live site
Set Status to Published and save. Open the page in a private window — Clew remembers who has already seen a “once” item, so your usual browser may skip it. Views, completions and drop-offs appear in the tour stats.
Step 7 · schematic illustration
Pitfalls: image popup on Webflow
The staging domain counts as a separate URL
URL rules compare paths, so a image popup set for /pricing shows on both yoursite.webflow.io and your domain. That’s handy for testing before you publish to the domain.
The file’s address, not the page about it
A link to a media-library page or a cloud preview returns HTML, not an image, and the window stays empty. Open the picture in a new tab and copy the address from there — it ends with the file extension.
Questions and answers
Where do I find the asset URL in Webflow?
Open the Assets panel, click the image and copy its link — a uploads-ssl.webflow.com address ending in the file extension.
Should the image go above the text or beside it?
Above, for a wide screenshot; beside, for something tall like a cover. On phones both become “above” anyway, because side by side would be unreadable.
Do I need a paid Webflow plan?
Yes. Webflow allows site-wide custom code only on paid Site plans, and there is no supported workaround.
Can I use an image from my site’s media library?
Yes, and it is the most reliable option: the file sits on your own domain, is served over https and is not going anywhere.
What image size should I use?
The window is about 420 pixels wide, so an 840-pixel-wide image covers double-density screens too. A file over a megabyte almost always means it should be compressed.
What else you can add on Webflow
- How to add a popup to a Webflow site without a developer
- How to add a tooltip on Webflow without a developer
- How to add a rating popup to a Webflow site without a developer