How to add tooltips and hints to your website without a developer
Sometimes one sentence in the right place is all a visitor needs: “we’ll only call to confirm”, “runs small — pick one size up”. Clew adds that sentence next to the element itself, without editing the theme.
- Time
- ● 10 minutes
- Price
- Free plan
- Format
- Step-by-step tooltips
What a Clew tooltip is
A tooltip is a one-step item in the Step-by-step tooltips format: a small bubble with a title and text, attached to an element of the page and positioned automatically (or Top, Bottom, Left, Right).
It can appear Right on page load, After N seconds, or On click on an element — the last one turns any existing icon or link into a hint trigger. You choose the element by clicking it with Pick element.
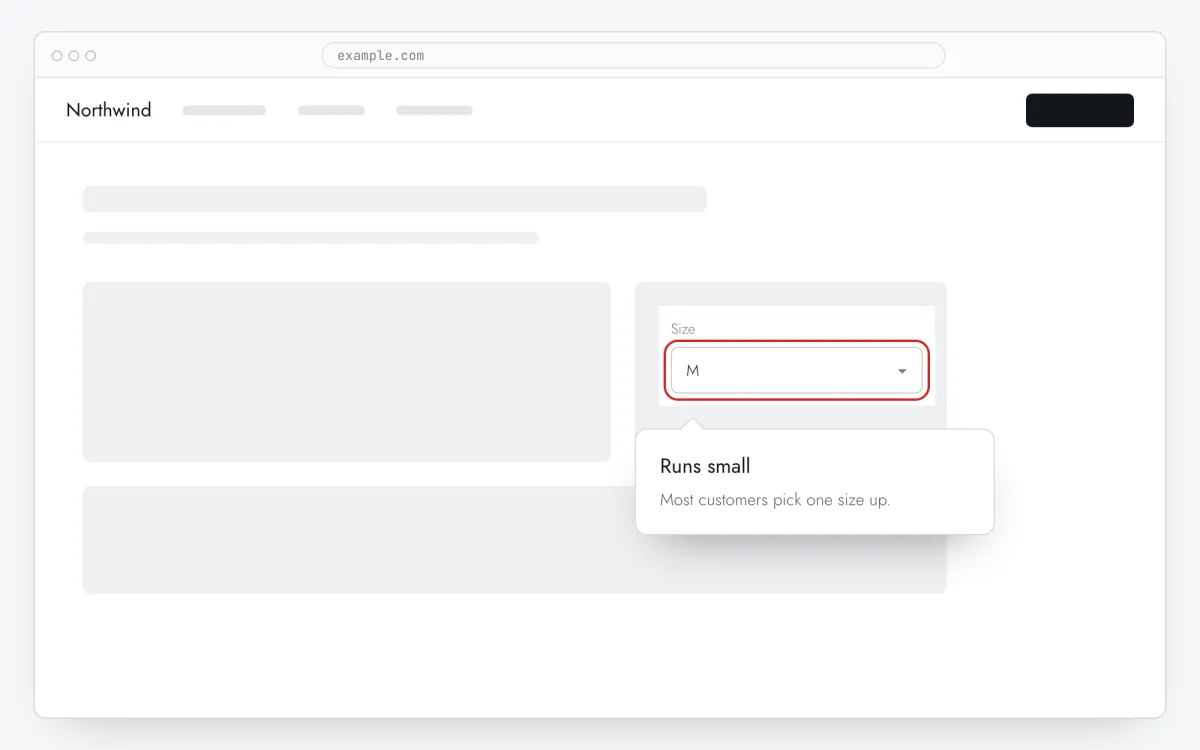
Good places for a hint
Form fields that make people hesitate
Phone, tax ID, company size: one line on why you ask removes friction.
Prices and plan toggles
What “per seat” means, what the annual discount is — right next to the number.
Product options
Sizing, compatibility, delivery dates next to the selector, not in a FAQ nobody opens.
Settings in an app
A hint shown on click next to an advanced option, as often as the user needs it.
How to add a tooltip in 5 steps
- Step 01
Copy your Clew snippet
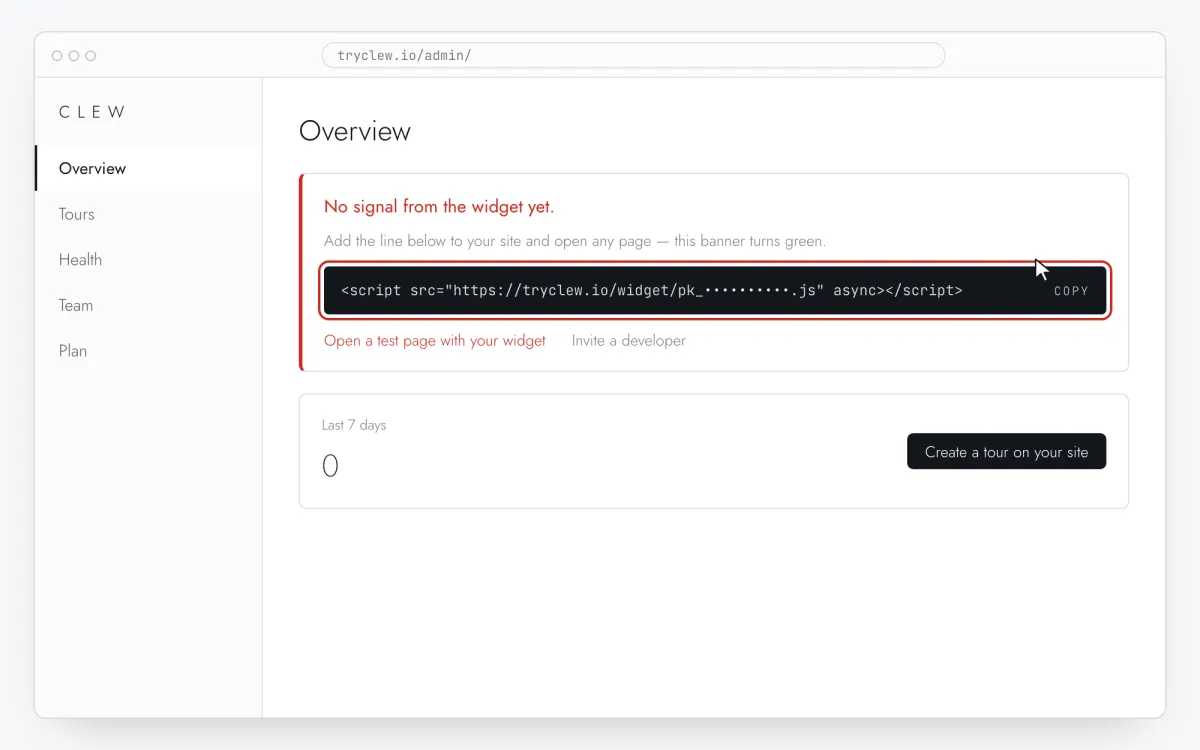
Create a free account (or sign in), add your site and open Admin → Overview. Click the line in the “No signal from the widget yet.” card to copy it — it carries your real site key instead of the placeholder.
<!-- Clew: replace PASTE_YOUR_SITE_KEY with the site key from Admin > Overview -->
<script src="https://tryclew.io/widget/PASTE_YOUR_SITE_KEY.js" async></script>
Step 1 · schematic illustration - Step 02
Add the line to your site once
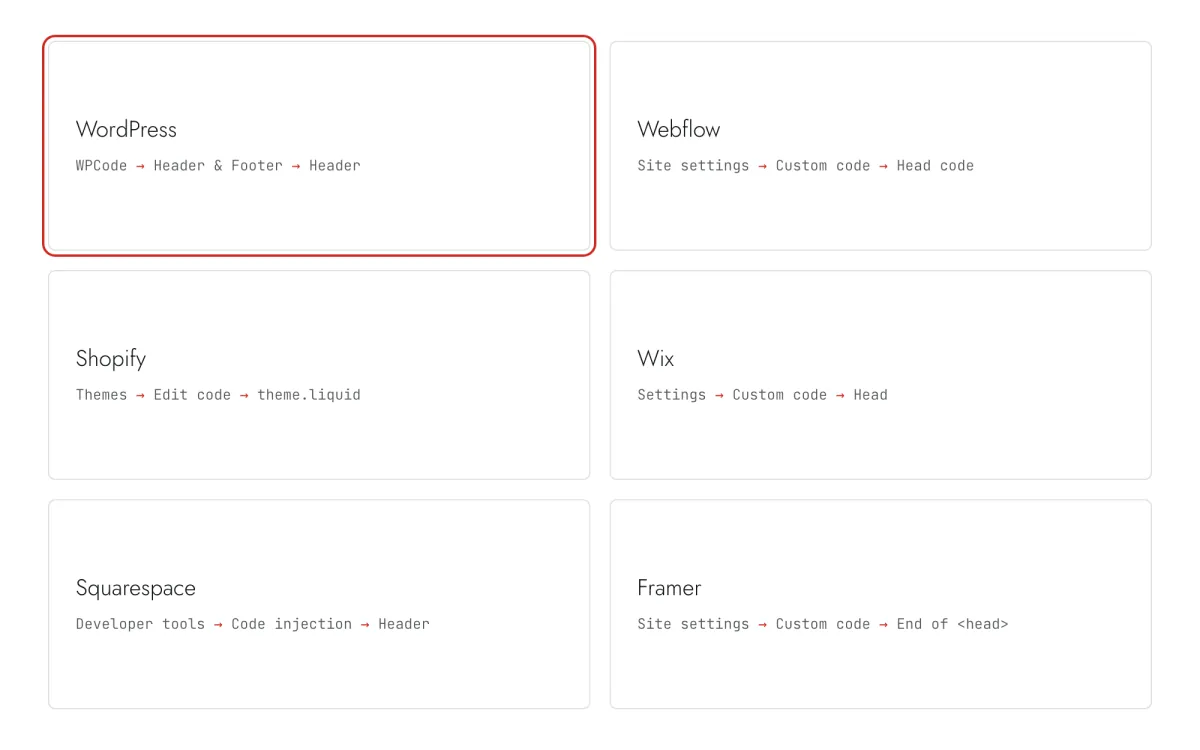
Paste the snippet wherever you manage the site. Each guide takes 5–10 minutes and never has to be repeated: everything else happens in Clew.
Step 2 · schematic illustration - Step 03
Attach the tooltip to the element
In Clew open Flows → + New flow, keep Step-by-step tooltips and press Edit on your site. On your page press Pick element, click the field or button, and write a short title and one sentence. Set Placement if the automatic position covers something important.
Step 3 · schematic illustration - Step 04
Choose where, when and for whom it shows
In the same editor, set Where to show (page URL), When to show, Audience targeting and Frequency. These are the settings of the example above:
Setting Value Format Step-by-step tooltips Where to show (page URL) Section by prefix /productsWhen to show After N seconds: 8 seconds Audience targeting No rules — everyone who opens the page Frequency Once per visitor 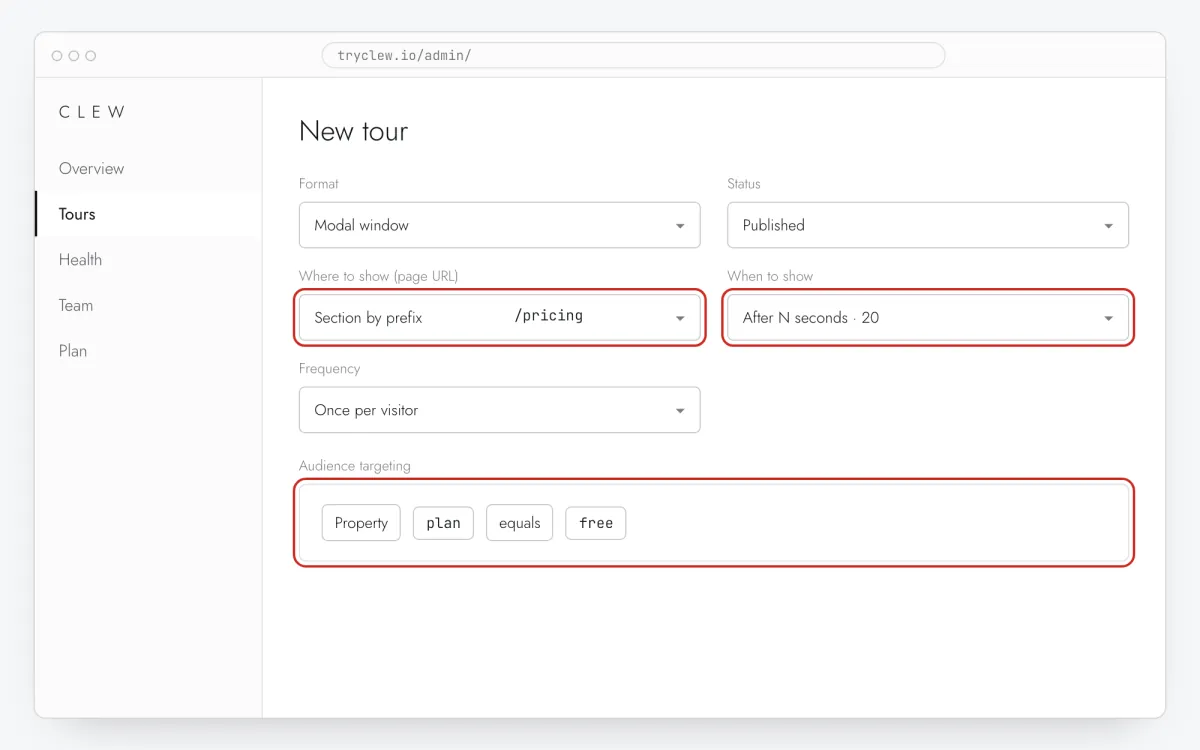
Step 4 · schematic illustration - Step 05
Publish and check it on the live site
Set Status to Published and save. Open the page in a private window — Clew remembers who has already seen a “once” item, so your usual browser may skip it. Views, completions and drop-offs appear in the tour stats.
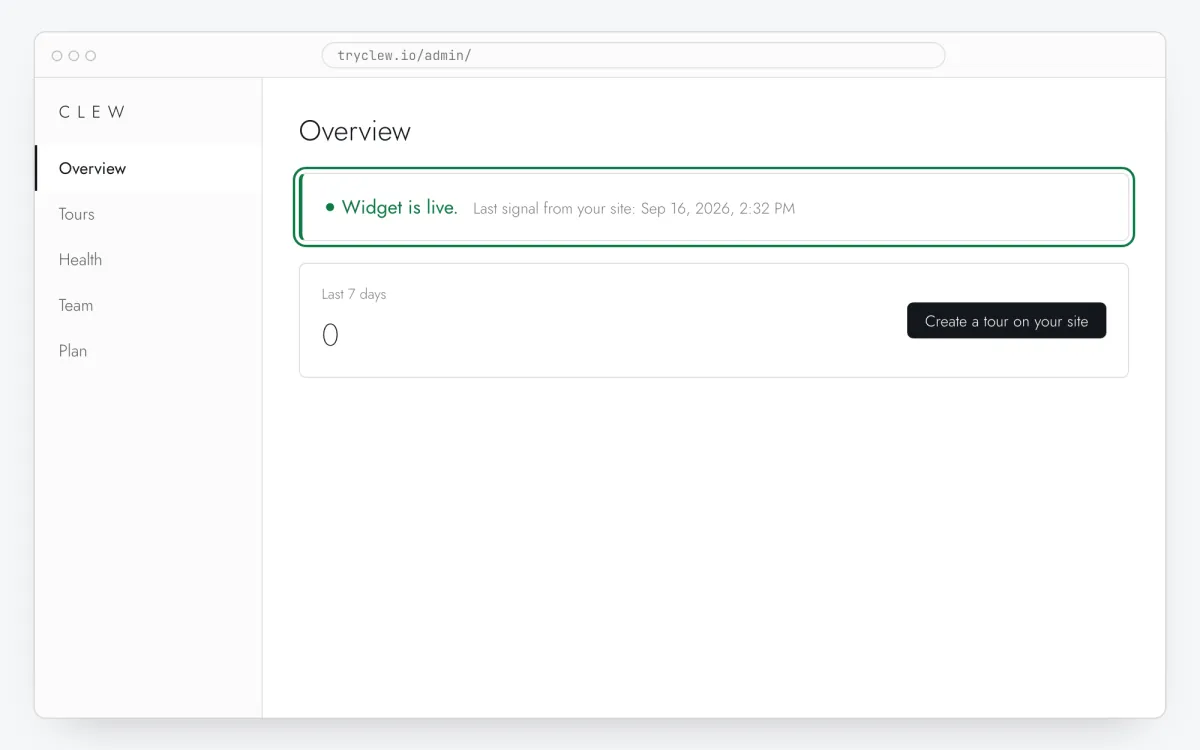
Step 5 · schematic illustration
Step-by-step: tooltip on your platform
Pick the platform your site or app is built with. Every guide has the insertion steps, a worked example with ready settings, and the pitfalls of that platform.
Is it free?
Free on the Clew Free plan — no card, no time limit: one site and up to 3 published tours or tooltips. Audience rules and A/B tests come with Pro.
Questions and answers
Are tooltips free?
Yes. Tooltips and tours are on the Free plan: one site, up to 3 published, no card, no time limit.
Can a tooltip show every time?
Yes: set Frequency to Every visit. With On click on an element it becomes an on-demand hint.
Does it work on mobile?
Yes. The bubble repositions to fit the screen and scrolls the element into view.
What if the element isn’t on the page?
The tooltip doesn’t show and the Health tab reports the missing element, so you notice after a redesign.