How to add an onboarding checklist to your app without a developer
A getting-started checklist turns “what now?” into four clear tasks with a progress bar. In Clew you write the items, link each to the page where it’s done and choose who sees the list — the widget keeps the progress in the user’s browser.
- Time
- ● 15 minutes
- Price
- 14-day free trial, no card
- Format
- Onboarding checklist
What a Clew checklist is
The Onboarding checklist format is a compact panel in the corner of the screen: a title, a progress bar and Checklist items. Each item has a title, a short description and an optional link. When the user clicks an item it is ticked and its link opens in a new tab.
Progress is saved in the visitor’s browser, so the list remembers what was done between visits on that device. Completion is counted when every item is ticked.
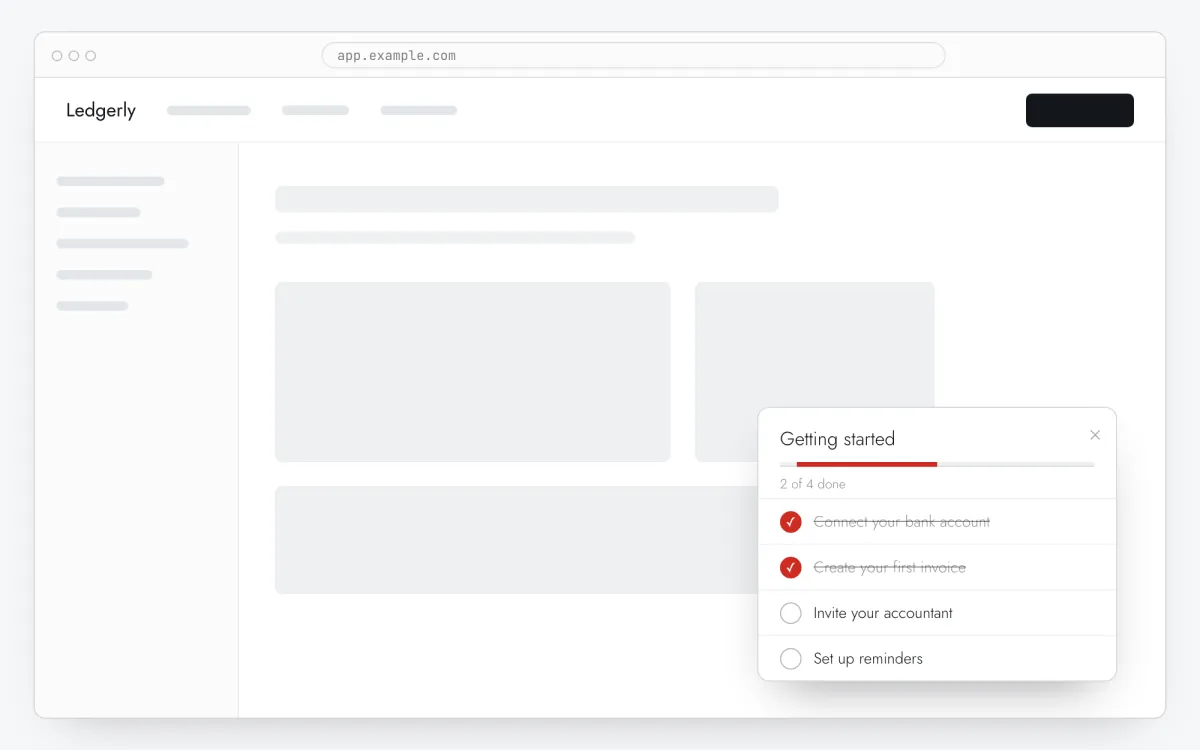
What to put on the list
The setup that unlocks value
Connect data, create the first project, invite a colleague — the three or four steps after which the product starts to work for the user.
Links straight to the right screen
Every item links to the page where it’s done, so nobody hunts through the menu.
A tour behind an item
Link an item to a page with ?tutorial=<slug> and that tour starts on arrival — a checklist becomes an interactive guide.
Only for the people who need it
With an audience rule the list shows to trial users or to accounts that haven’t finished setup, not to everyone forever.
How to add an onboarding checklist in 5 steps
- Step 01
Copy your Clew snippet
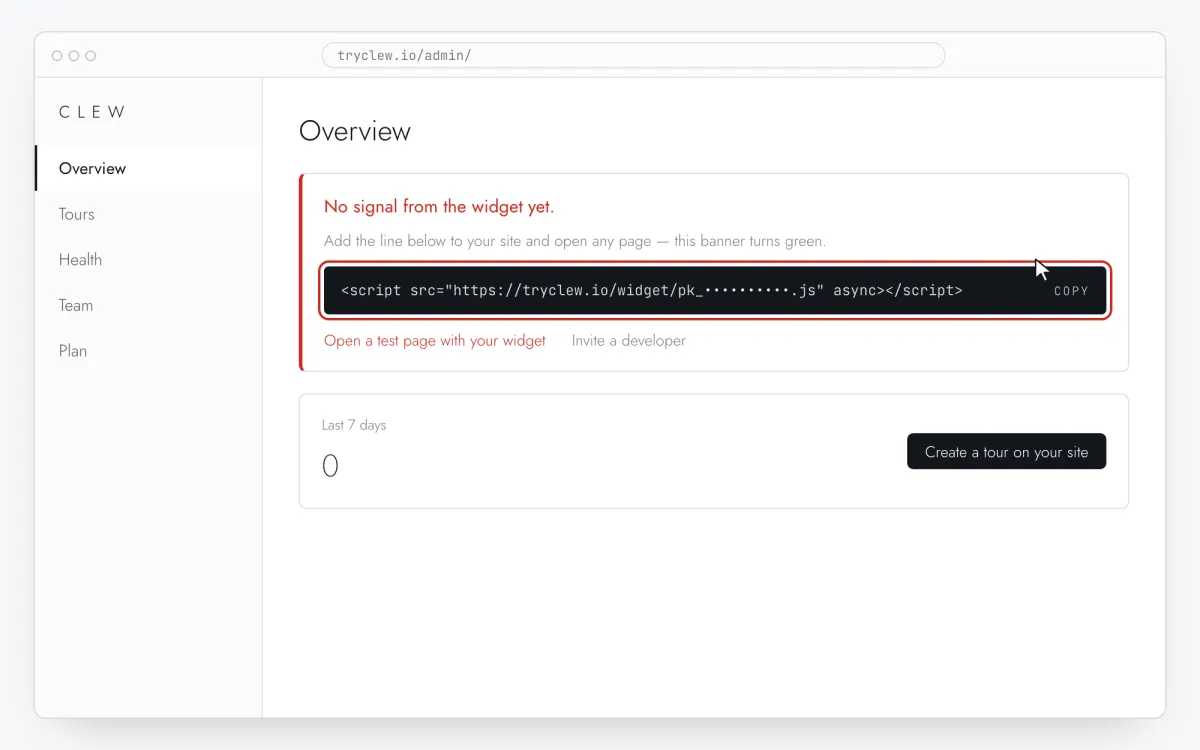
Create a free account (or sign in), add your site and open Admin → Overview. Click the line in the “No signal from the widget yet.” card to copy it — it carries your real site key instead of the placeholder.
<!-- Clew: replace PASTE_YOUR_SITE_KEY with the site key from Admin > Overview -->
<script src="https://tryclew.io/widget/PASTE_YOUR_SITE_KEY.js" async></script>
Step 1 · schematic illustration - Step 02
Add the line to your site once
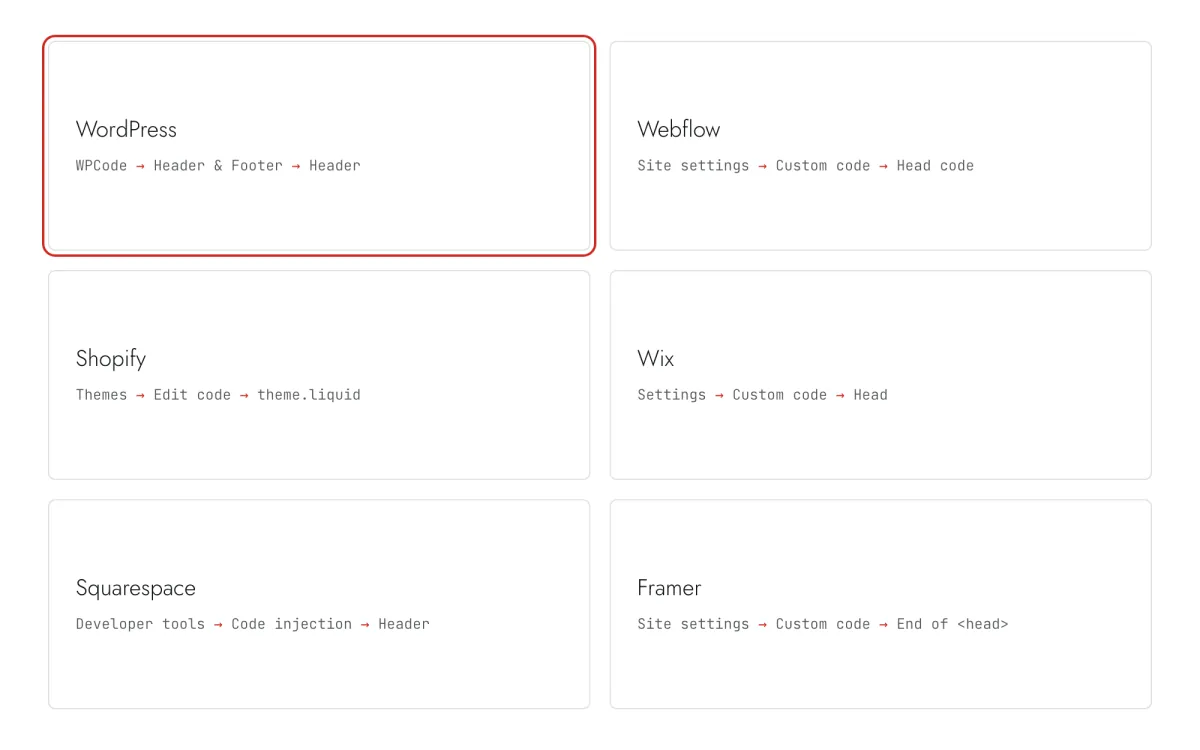
Paste the snippet wherever you manage the site. Each guide takes 5–10 minutes and never has to be repeated: everything else happens in Clew.
Step 2 · schematic illustration - Step 03
Write the checklist items in Clew
In Clew open Flows → + New flow and choose Onboarding checklist. Fill Checklist title, then add 3–5 Checklist items: a title that is an action, one line of explanation and in Link URL the page where it is done. No selectors are needed.
Step 3 · schematic illustration - Step 04
Choose where, when and for whom it shows
In the same editor, set Where to show (page URL), When to show, Audience targeting and Frequency. These are the settings of the example above:
Setting Value Format Onboarding checklist Where to show (page URL) Section by prefix /appWhen to show Right on page load Audience targeting Property planequalstrialFrequency Once per visitor 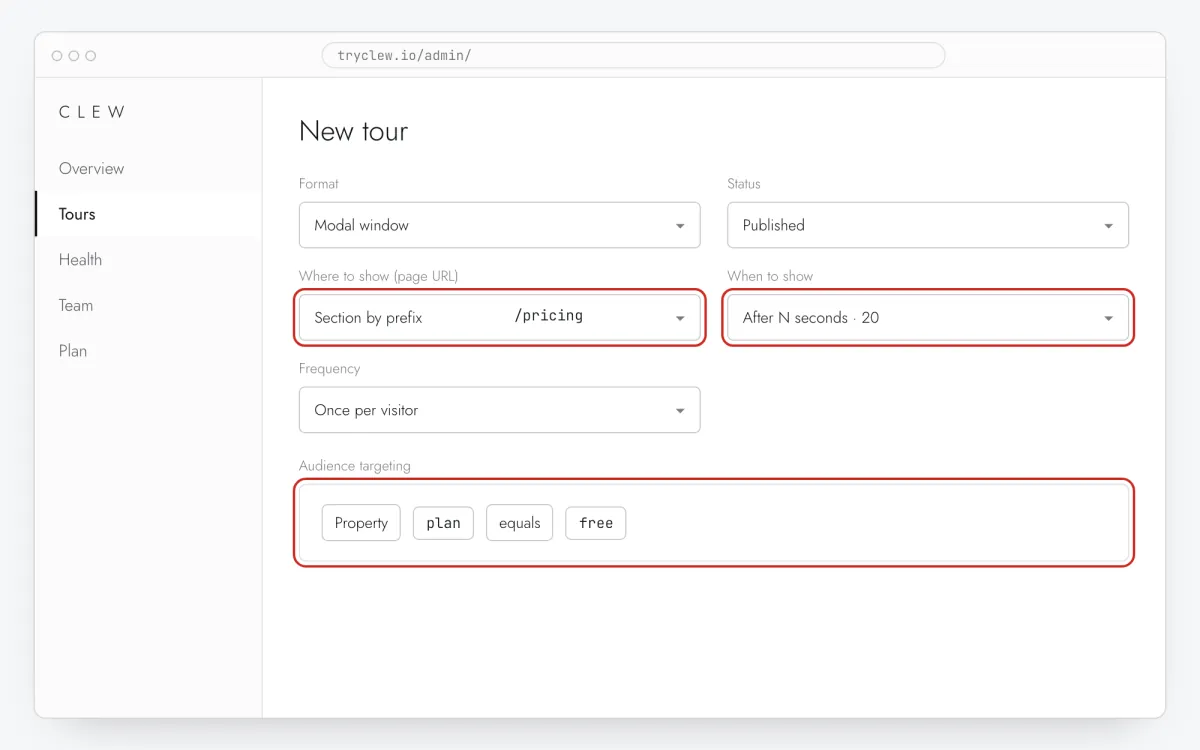
Step 4 · schematic illustration - Step 05
Publish and check it on the live site
Set Status to Published and save. Open the page in a private window — Clew remembers who has already seen a “once” item, so your usual browser may skip it. Views, completions and drop-offs appear in the tour stats.
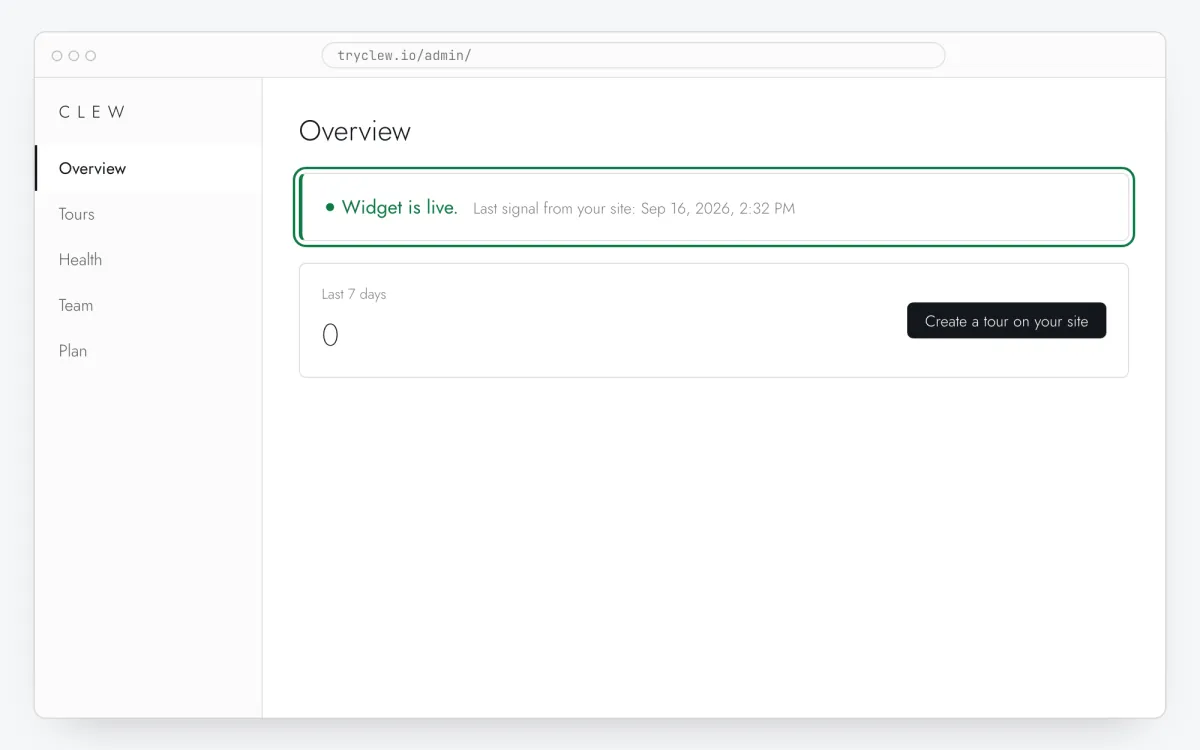
Step 5 · schematic illustration
Step-by-step: onboarding checklist on your platform
Pick the platform your site or app is built with. Every guide has the insertion steps, a worked example with ready settings, and the pitfalls of that platform.
Is it free?
This format is part of the Pro plan. Every new account starts with a 14-day free trial with all formats and audience rules, no card required. When the trial ends nothing is deleted and published items keep showing; the Free plan keeps tours and tooltips free.
Questions and answers
Is the checklist free?
The checklist format is part of Pro. New accounts get a 14-day trial with all formats and audience rules, no card; tours and tooltips stay free.
Are items ticked automatically when the user does the task?
Not yet: an item is ticked when the user clicks it, which also opens its link. Ticking by events in your app is announced for a later version — until then, word items as actions (“Create your first project”) so the click is the natural next step.
Does progress sync across devices?
No. It is stored in the browser. For most onboarding this is fine: people set up the product on the device they signed up on.
How do I hide the checklist for users who already set up?
Pass a property such as onboarded with Clew.identify() and add an audience rule Property onboarded not equals true.