How to add a tooltip on Webflow without a developer
A contextual hint on Webflow: one sentence next to the element where visitors hesitate, placed with a click in the visual editor and shown exactly when it helps.
- Time
- ● 10 minutes
- Price
- Free plan
- Who does it
- Webflow site admin
Example: a tooltip on Webflow
On a Webflow pricing page visitors miss that annual billing saves two months. A tooltip on the monthly/annual toggle says “Annual = 2 months free” for everyone who opens /pricing, once.
Free on the Clew Free plan — no card, no time limit: one site and up to 3 published tours or tooltips. Audience rules and A/B tests come with Pro.
How to add the tooltip on Webflow, step by step
- Step 01
Copy your Clew snippet
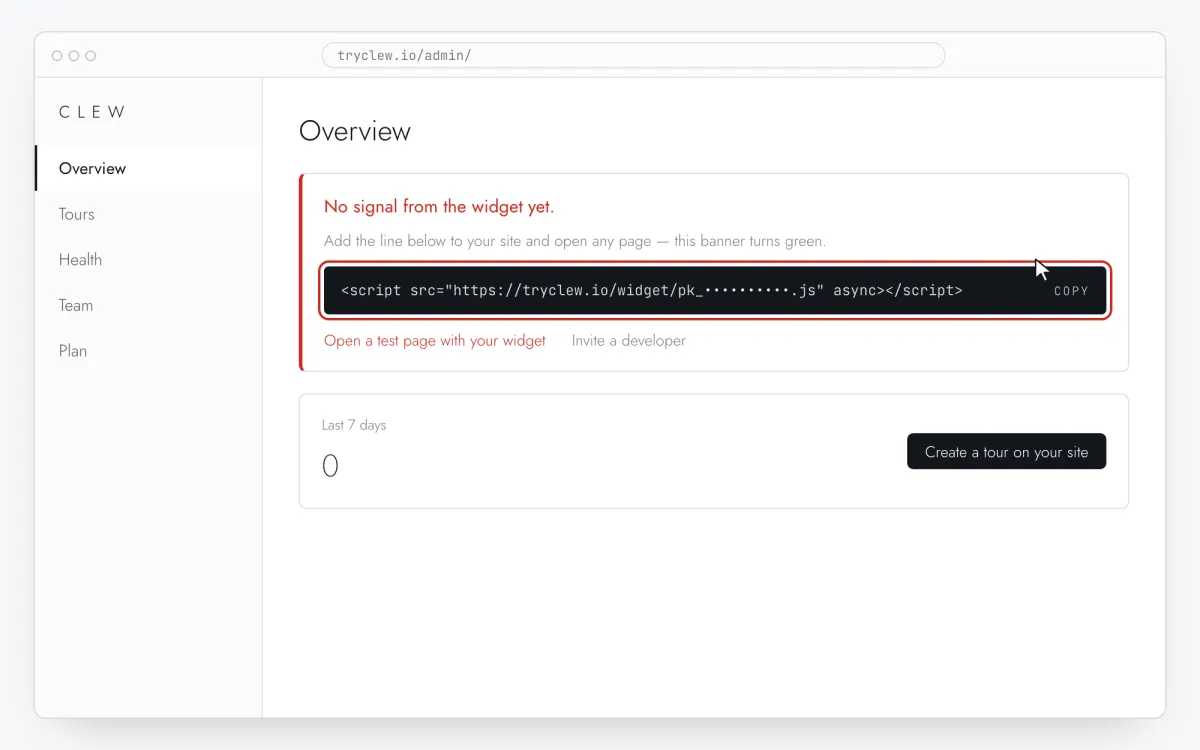
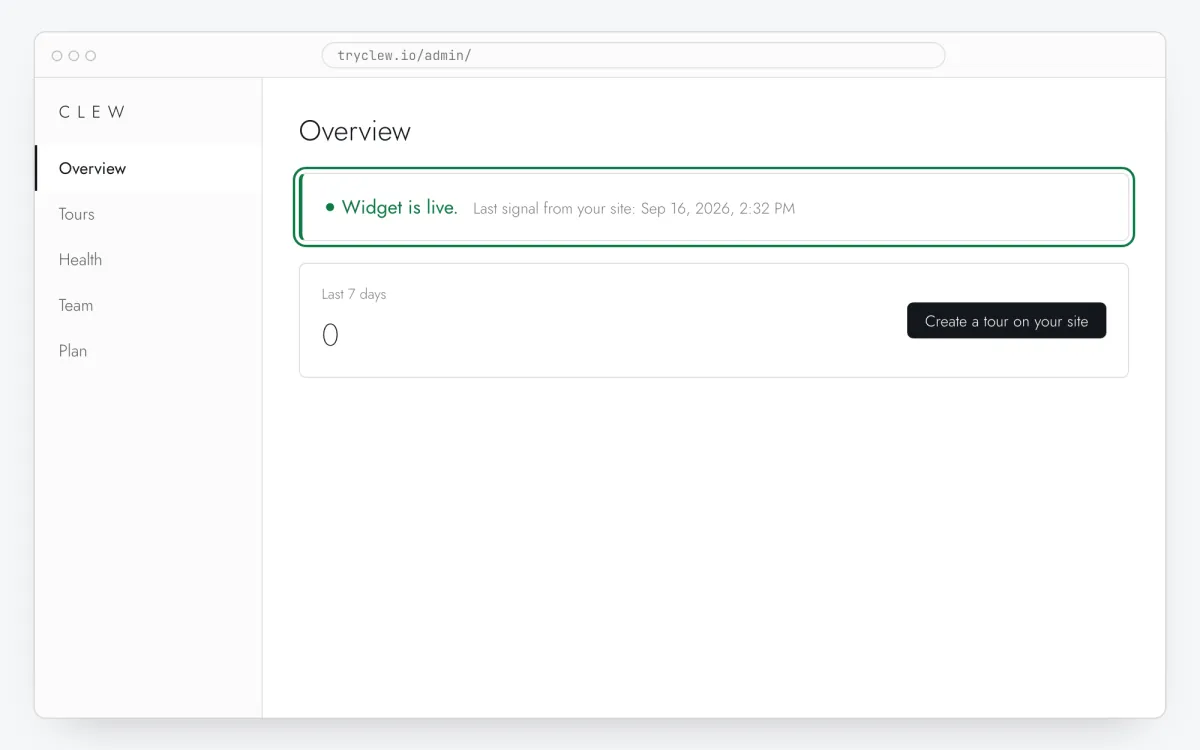
Create a free account (or sign in), add your site and open Admin → Overview. Click the line in the “No signal from the widget yet.” card to copy it — it carries your real site key instead of the placeholder.
<!-- Clew: replace PASTE_YOUR_SITE_KEY with the site key from Admin > Overview -->
<script src="https://tryclew.io/widget/PASTE_YOUR_SITE_KEY.js" async></script>
Step 1 · schematic illustration - Step 02
Open Site settings → Custom code
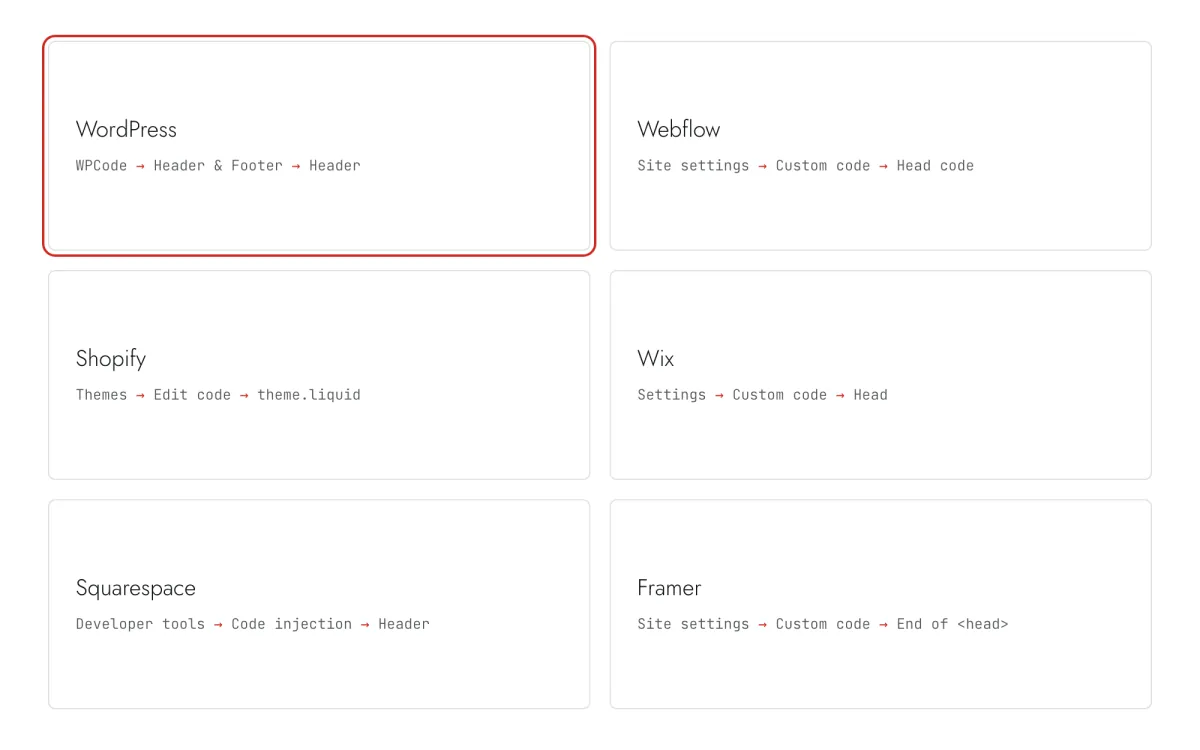
In the Webflow dashboard open the site’s Site settings and the Custom code tab. Custom code requires a paid Site plan.
Step 2 · schematic illustration - Step 03
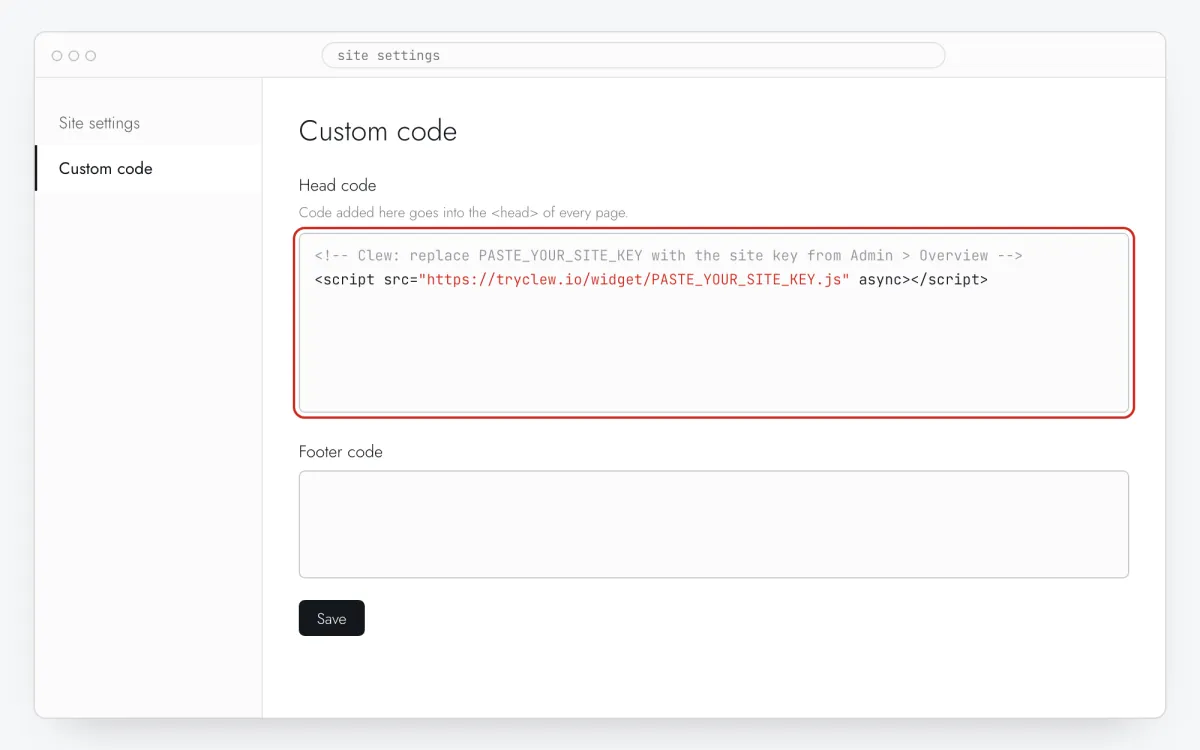
Paste into Head code
Paste the Clew line into Head code and press Save changes.
Step 3 · schematic illustration - Step 04
Publish the site
Custom code reaches the live site only after Publish — to your custom domain and to
webflow.ioif you use both.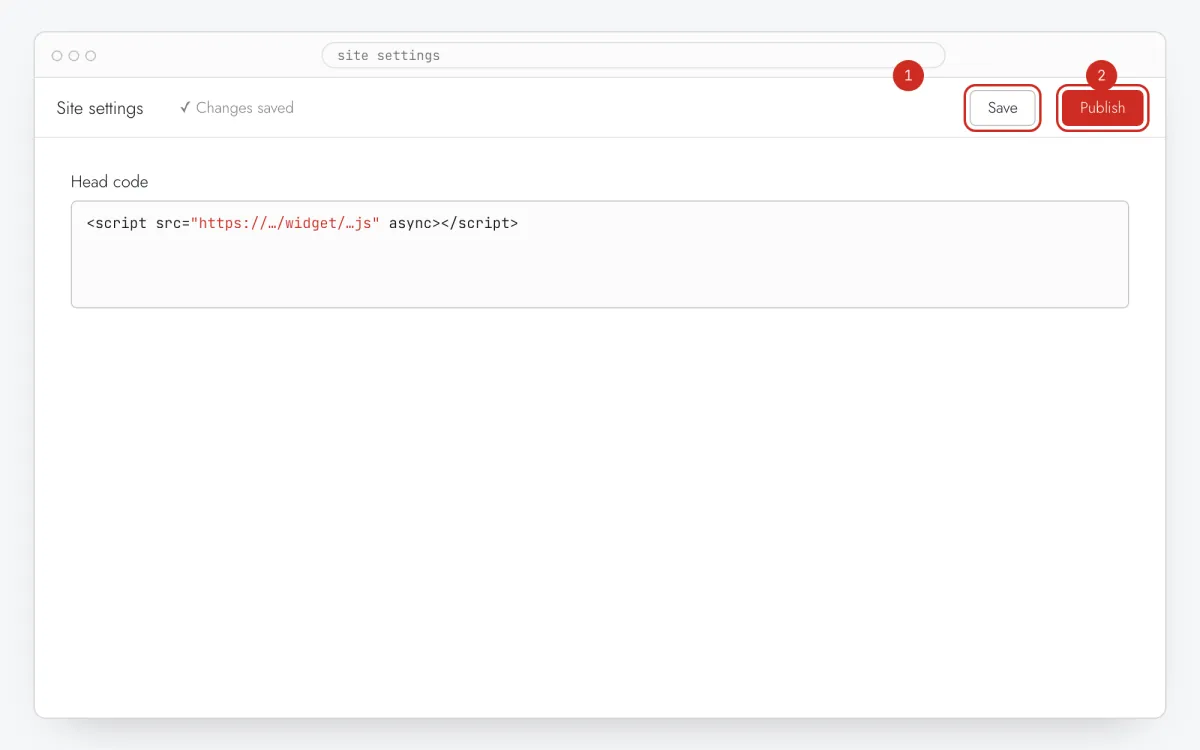
Step 4 · schematic illustration - Step 05
Attach the tooltip to the element
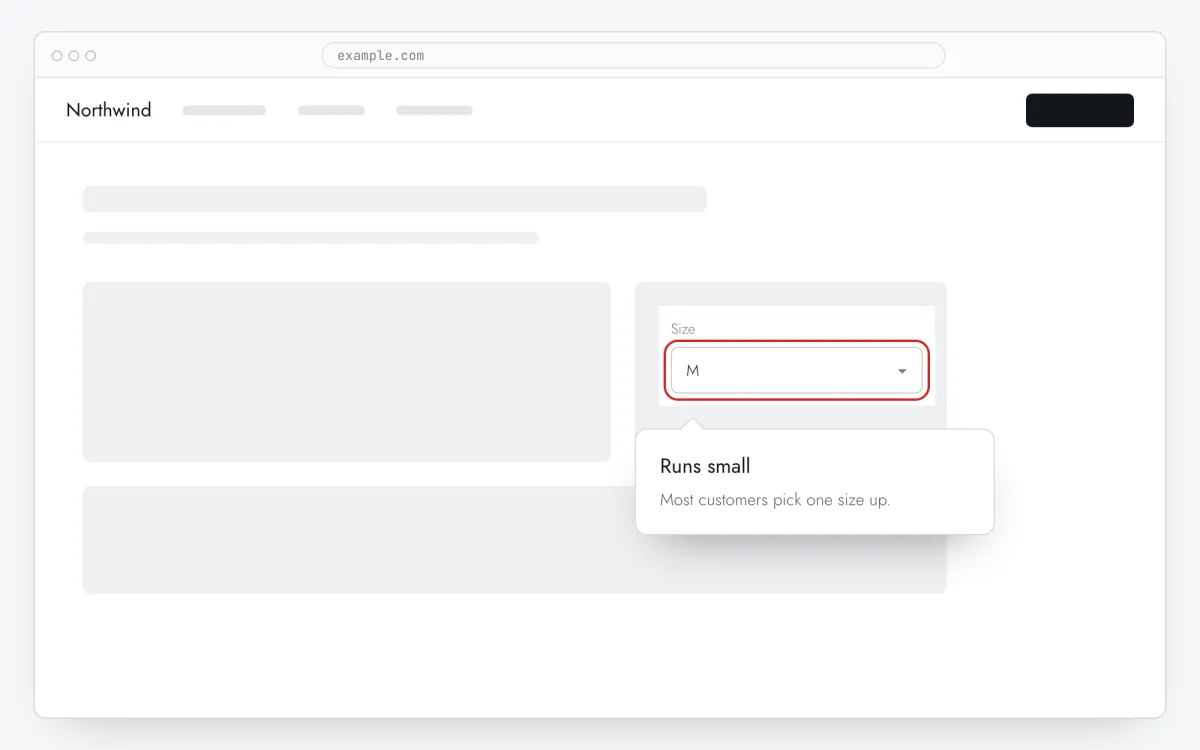
In Clew open Flows → + New flow, keep Step-by-step tooltips and press Edit on your site. On your page press Pick element, click the field or button, and write a short title and one sentence. Set Placement if the automatic position covers something important.
Step 5 · schematic illustration - Step 06
Choose where, when and for whom it shows
In the same editor, set Where to show (page URL), When to show, Audience targeting and Frequency. These are the settings of the example above:
Setting Value Format Step-by-step tooltips Where to show (page URL) Exact path /pricingWhen to show Right on page load Audience targeting No rules — everyone who opens the page Frequency Once per visitor 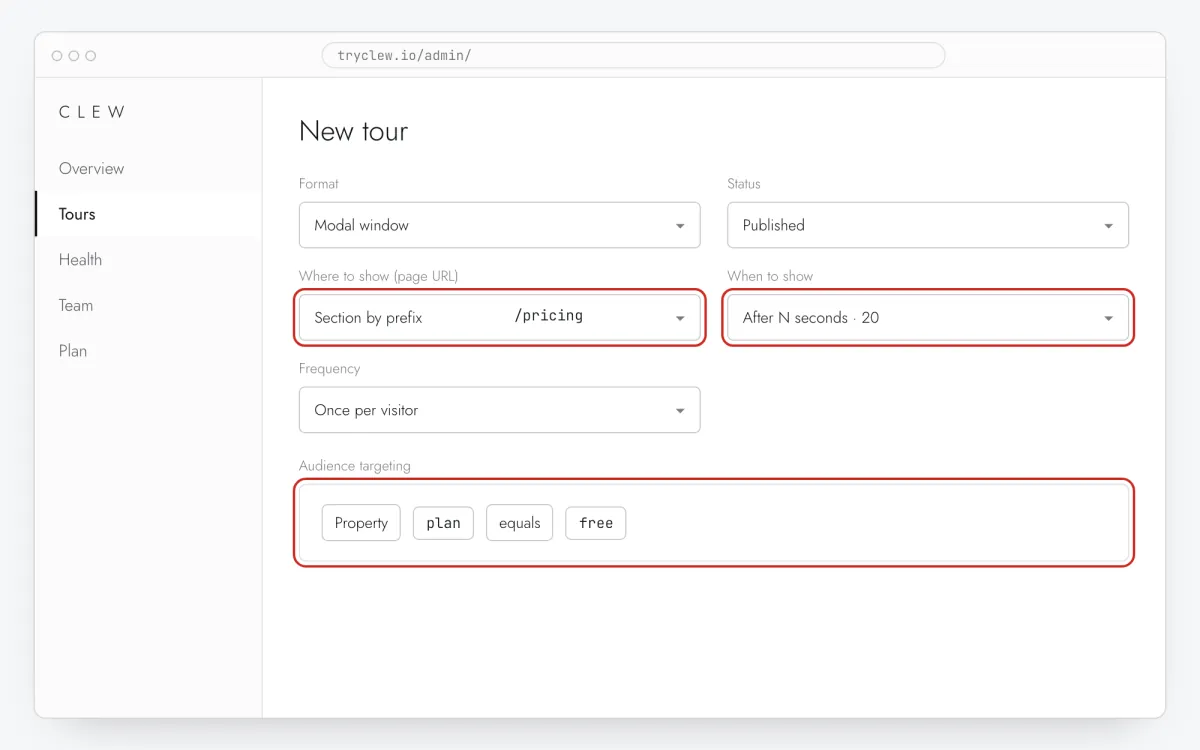
Step 6 · schematic illustration - Step 07
Publish and check it on the live site
Set Status to Published and save. Open the page in a private window — Clew remembers who has already seen a “once” item, so your usual browser may skip it. Views, completions and drop-offs appear in the tour stats.
Step 7 · schematic illustration
Pitfalls: tooltip on Webflow
The staging domain counts as a separate URL
URL rules compare paths, so a tooltip set for /pricing shows on both yoursite.webflow.io and your domain. That’s handy for testing before you publish to the domain.
Combo classes are shared between elements
Webflow classes like .button.is-secondary repeat across the page. Give the target element a custom attribute data-tour in the element settings, and point the tooltip at it.
Builder elements can be rebuilt on publish
Site builders sometimes regenerate element ids when a block is duplicated or re-created. After larger design edits, open Health: if the hint lost its element, pick it again.
Questions and answers
Will the tooltip move on mobile breakpoints?
Yes. It is positioned relative to the element at display time, whatever the breakpoint layout.
Do I need a paid Webflow plan?
Yes. Webflow allows site-wide custom code only on paid Site plans, and there is no supported workaround.
Is the tooltip free?
Yes, on the Free plan — up to 3 published tours and tooltips on one site.
Can the hint open on click only?
Yes. Choose On click on an element and enter the selector of the icon or link that should open it, and set Every visit.
What else you can add on Webflow
- How to add a popup to a Webflow site without a developer
- How to add a rating popup to a Webflow site without a developer