How to create a product tour without a developer
A product tour shows a new user where things are: “here you create a project, here you invite the team”. In Clew you click the elements right on your live app, write a sentence for each and publish — no selectors to learn, no code to ship.
- Time
- ● 20 minutes
- Price
- Free plan
- Format
- Step-by-step tooltips
What a Clew product tour is
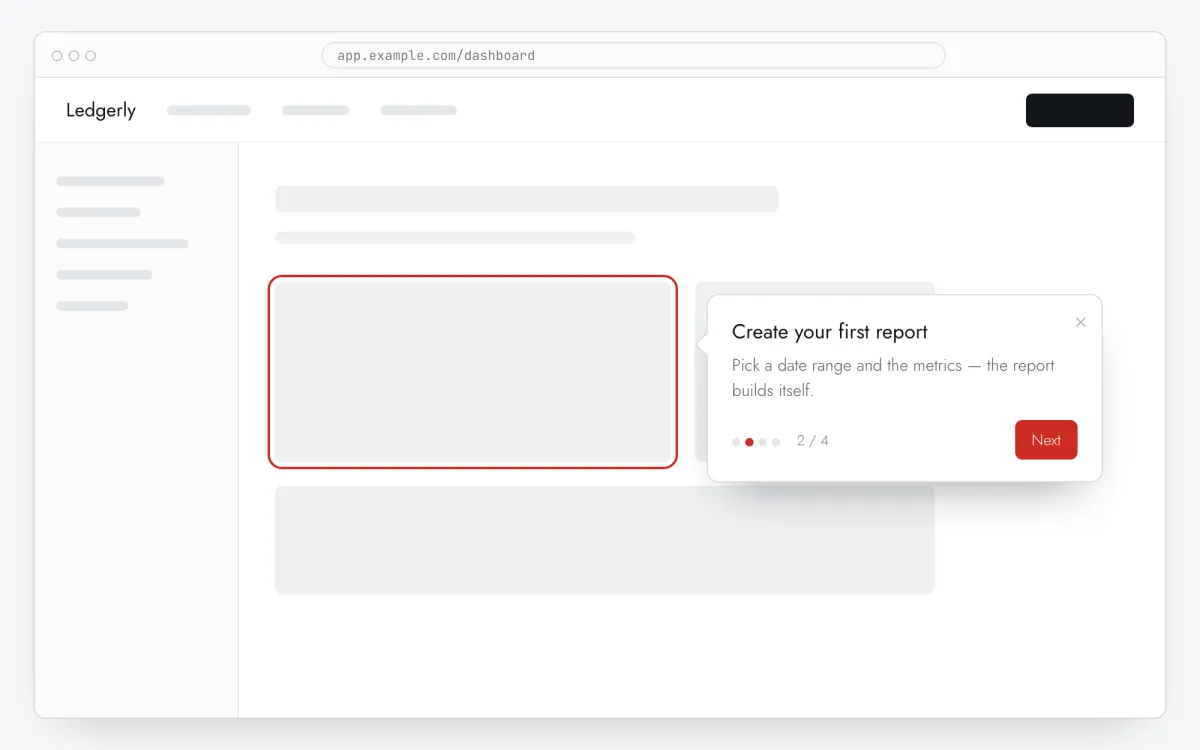
A product tour (guided tour, walkthrough) is a chain of tooltips attached to elements of the page. In Clew it is the Step-by-step tooltips format: each step points at an element, has a title and text, and the user goes Next until Done.
You don’t need to write CSS selectors: Edit on your site opens the editor on top of your site, where Pick element lets you click the element itself. The tour follows client-side navigation in single-page apps and reports which step people drop at.
Where a tour pays off
First session in a SaaS app
Three to five steps on the main screen — the one action that brings value first. Longer tours get skipped.
A redesigned or new section
Existing users open a changed screen: a short tour on that URL explains what moved.
Complex forms
Settings, integrations, reports with filters: a tooltip per tricky field saves support tickets.
Measuring where people stop
The funnel shows how many saw each step. A step with a big drop is usually a confusing screen, not a bad tooltip.
How to create a product tour in 5 steps
- Step 01
Copy your Clew snippet
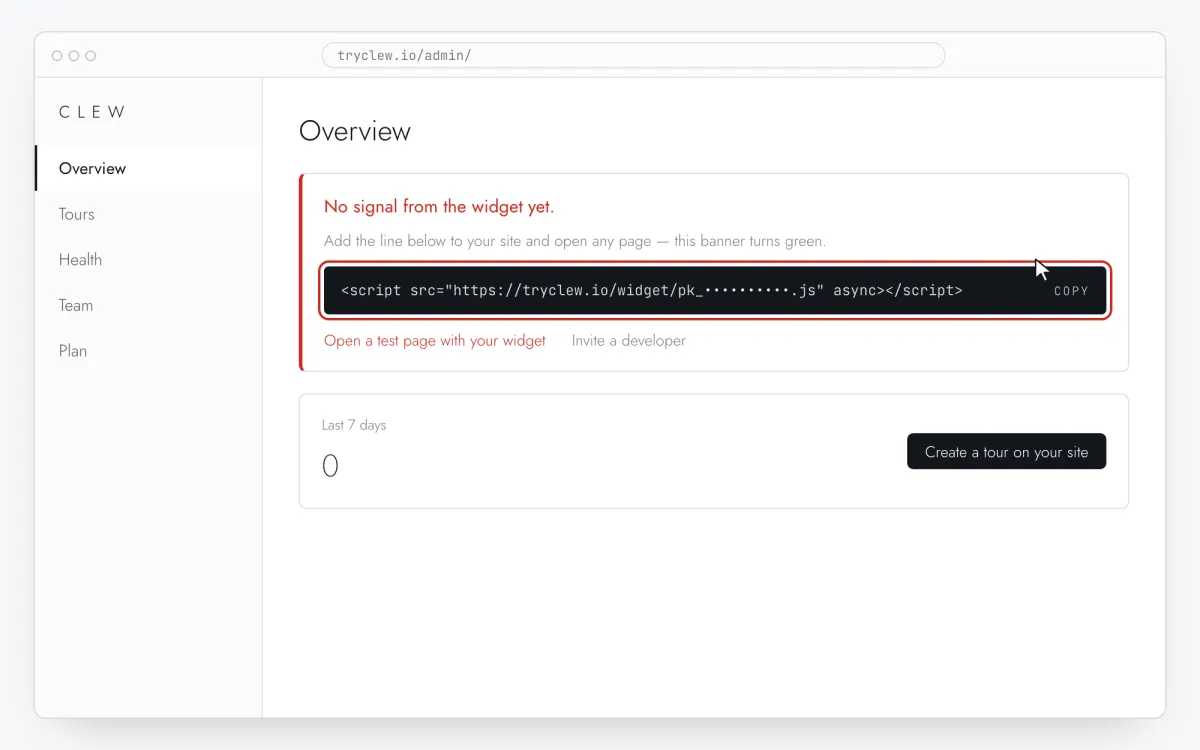
Create a free account (or sign in), add your site and open Admin → Overview. Click the line in the “No signal from the widget yet.” card to copy it — it carries your real site key instead of the placeholder.
<!-- Clew: replace PASTE_YOUR_SITE_KEY with the site key from Admin > Overview -->
<script src="https://tryclew.io/widget/PASTE_YOUR_SITE_KEY.js" async></script>
Step 1 · schematic illustration - Step 02
Add the line to your site once
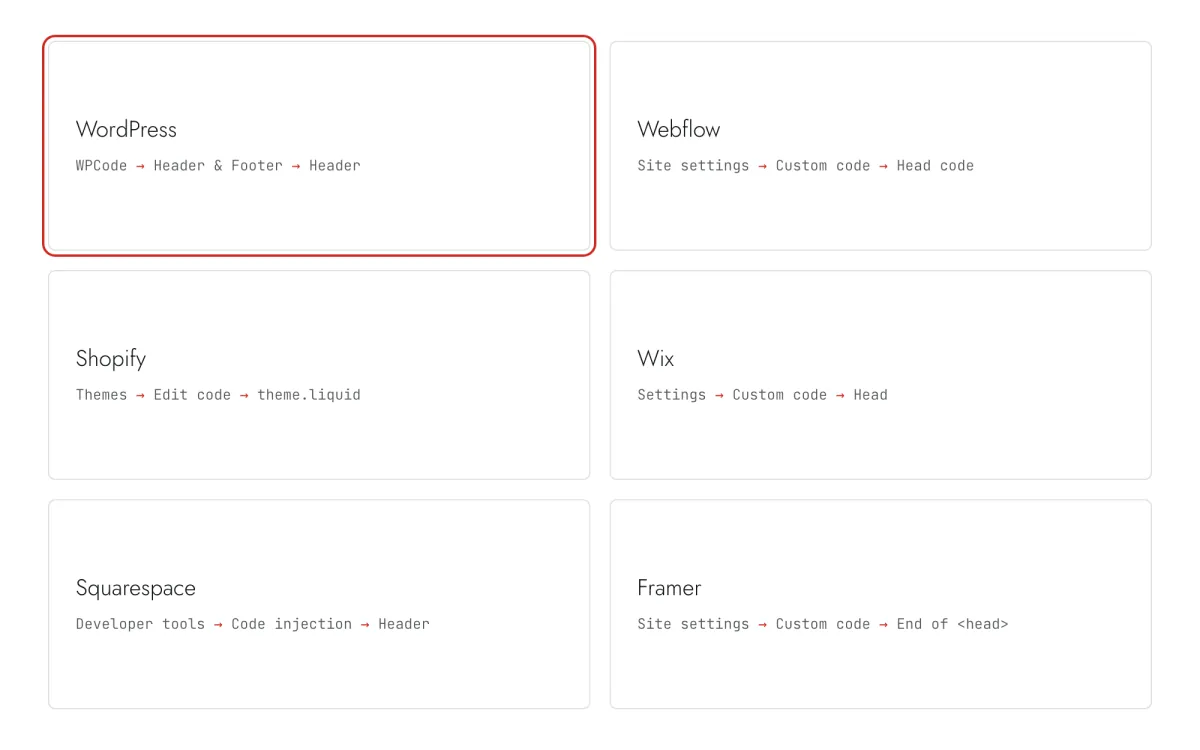
Paste the snippet wherever you manage the site. Each guide takes 5–10 minutes and never has to be repeated: everything else happens in Clew.
Step 2 · schematic illustration - Step 03
Build the tour on top of your page
In Clew open Flows → + New flow, keep Format at Step-by-step tooltips and press Edit on your site. On your page press Pick element and click the element for step 1, then write a title and one or two sentences. Repeat for 3–5 steps; the preview updates as you type.
Step 3 · schematic illustration - Step 04
Choose where, when and for whom it shows
In the same editor, set Where to show (page URL), When to show, Audience targeting and Frequency. These are the settings of the example above:
Setting Value Format Step-by-step tooltips Where to show (page URL) Section by prefix /app/reportsWhen to show Right on page load Audience targeting No rules — everyone who opens the page Frequency Once per visitor 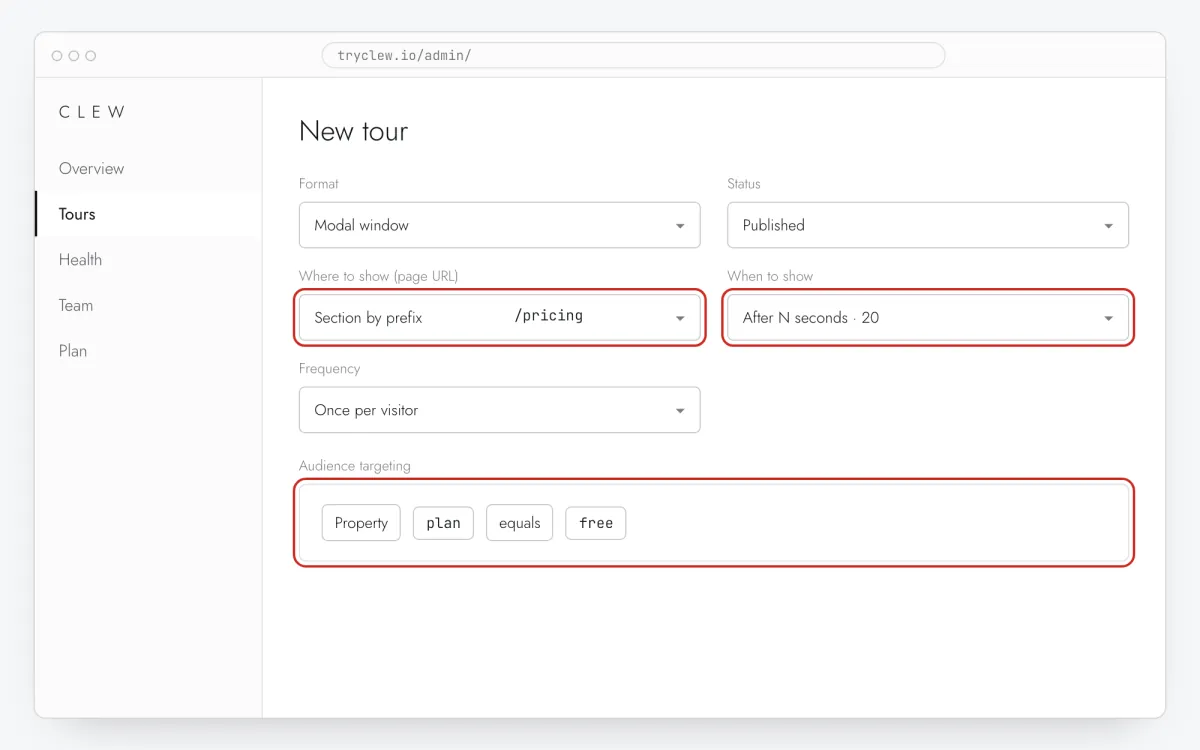
Step 4 · schematic illustration - Step 05
Publish and check it on the live site
Set Status to Published and save. Open the page in a private window — Clew remembers who has already seen a “once” item, so your usual browser may skip it. Views, completions and drop-offs appear in the tour stats.
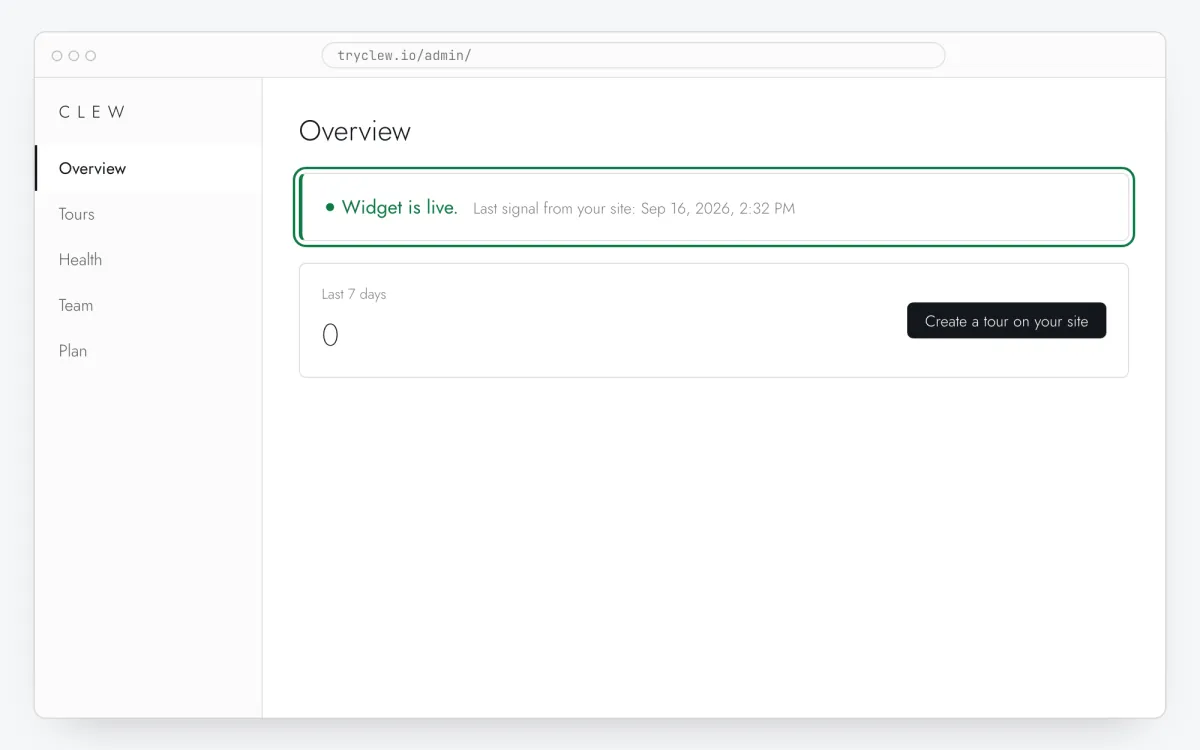
Step 5 · schematic illustration
Step-by-step: product tour on your platform
Pick the platform your site or app is built with. Every guide has the insertion steps, a worked example with ready settings, and the pitfalls of that platform.
Is it free?
Free on the Clew Free plan — no card, no time limit: one site and up to 3 published tours or tooltips. Audience rules and A/B tests come with Pro.
Questions and answers
Is a product tour free in Clew?
Yes. Tours and tooltips are on the Free plan: one site, up to 3 published, no card and no time limit. Audience rules and A/B tests come with Pro.
What if the developers change the page?
If an element disappears, the Health tab lists the step that can’t find it. Ask developers to add a data-tour attribute to key elements — selectors like [data-tour="create"] survive redesigns.
How many steps should a tour have?
Three to five. Show the path to the first result, not every button. Put the rest into tooltips on their own screens or a checklist.
Does it work in React, Vue or Next.js apps?
Yes. The widget watches client-side route changes, so a tour bound to /dashboard starts when the user navigates there without a reload. For where the line goes in Vite, Create React App and Next.js, see the React install guide.
What should my first tour look like?
One job, three to five steps, anchored to the elements the user has to press. Eight product tour examples cover the welcome tour, feature announcements, empty states, checklists and more, each with sample copy and what to measure.
Why not a library like Intro.js or Shepherd.js?
A library is a good fit when developers own the tours and they rarely change. It leaves targeting, analytics and editing to your code. See tour libraries vs a no-code tool.