How to set up user onboarding in a Lovable app without a developer
A complete first-session flow in a Lovable app — welcome, guided first action, getting-started list — built from three Clew items that follow the user through the app instead of one long tour on page load.
- Time
- ● 40 minutes
- Price
- Tours free · rest 14-day trial
- Who does it
- You and the Lovable chat
Example: user onboarding in a Lovable app
A Lovable habit tracker. New sign-ups (the app sets signup_source on registration) see a welcome modal on /dashboard, a tour on /habits when they open it, and a checklist from the second visit.
The product tour part is free on the Free plan (up to 3 published). The Modal, Checklist and audience rules are part of Pro: every new account gets a 14-day trial with everything included, no card. When the trial ends nothing is deleted and published items keep showing.
How to set up user onboarding in a Lovable app, step by step
- Step 01
Copy your Clew snippet
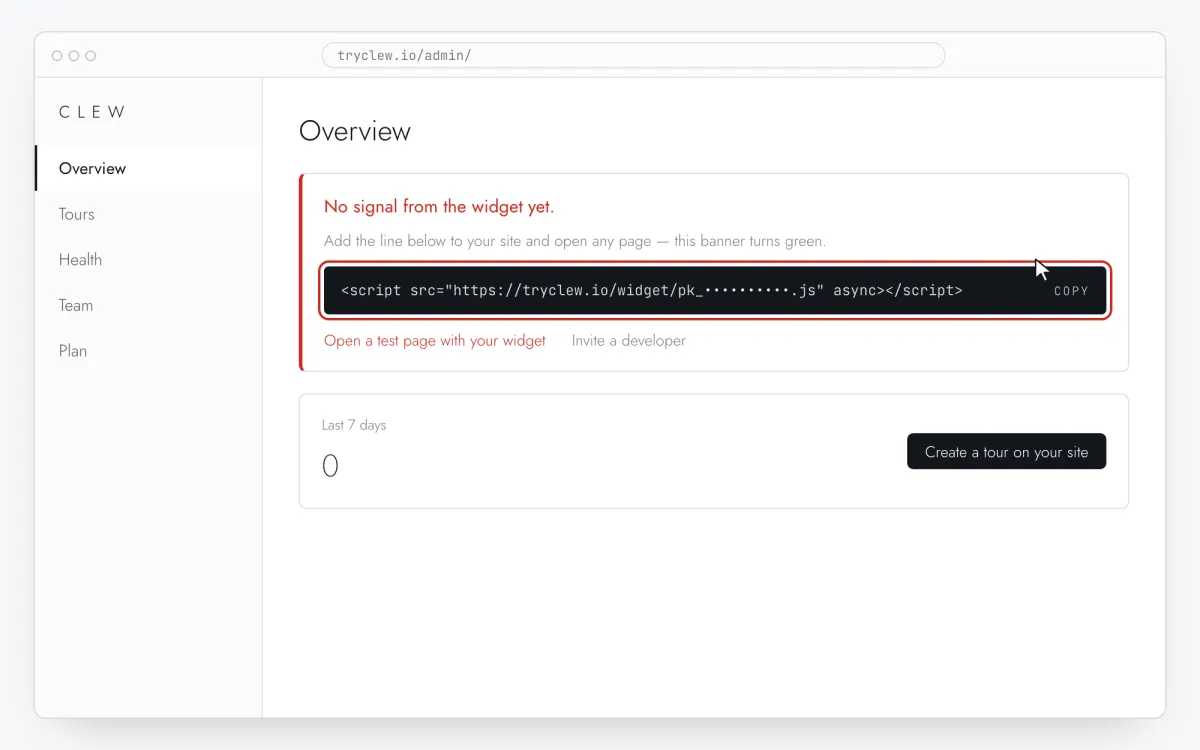
Create a free account (or sign in), add your site and open Admin → Overview. Click the line in the “No signal from the widget yet.” card to copy it — it carries your real site key instead of the placeholder.
<!-- Clew: replace PASTE_YOUR_SITE_KEY with the site key from Admin > Overview -->
<script src="https://tryclew.io/widget/PASTE_YOUR_SITE_KEY.js" async></script>
Step 1 · schematic illustration - Step 02
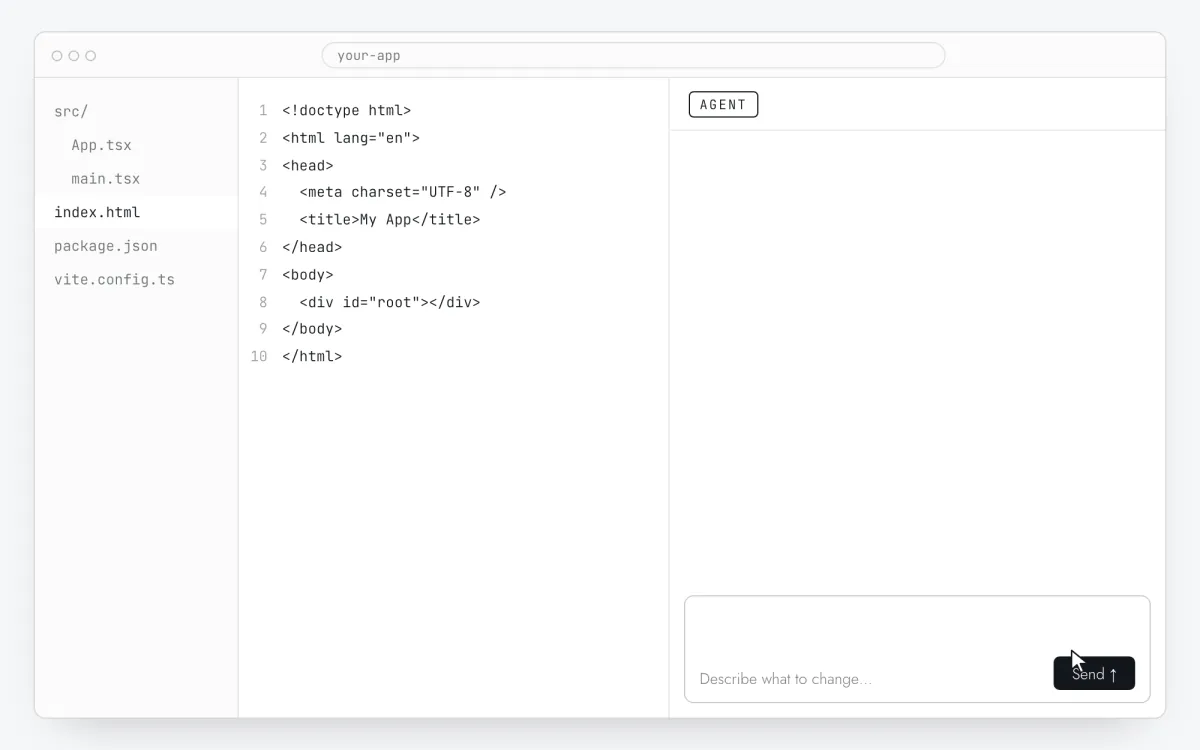
Open the project chat in Lovable
Open your project in Lovable. The chat edits the code directly; make sure you are on the main version you publish, not an old remix.
Step 2 · schematic illustration - Step 03
Send the prompt with your key
Copy the prompt, replace
PASTE_YOUR_SITE_KEYwith your key and send it. Besides the script tag it asks for what the user onboarding needs from the code.Add the Clew onboarding widget to this app. Insert this exact tag once so it loads on every page, including after client-side route changes: <script src="https://tryclew.io/widget/PASTE_YOUR_SITE_KEY.js" async></script> This is a Lovable project (React + Vite): put the tag in index.html right before </head>. After sign-in, call Clew.identify() with non-personal properties as strings that tell a new user from an existing one — for example { signup_source: "web", onboarded: "false", role: "owner" } — and update onboarded to "true" when the user completes the key action. If the widget may not have loaded yet, first define the queue stub: window.TutorKit = window.TutorKit || { q: [], identify: function (p) { this.q.push(["identify", p]); } }; then call window.TutorKit.identify(...). Also add data-tour attributes to the main navigation and the primary create button. Never pass names or emails. Rules: - Use the script URL exactly as given. Do not download it, bundle it or install an npm package. - If the project sets a Content-Security-Policy, allow https://tryclew.io in script-src and connect-src. - Change nothing else and show me the diff.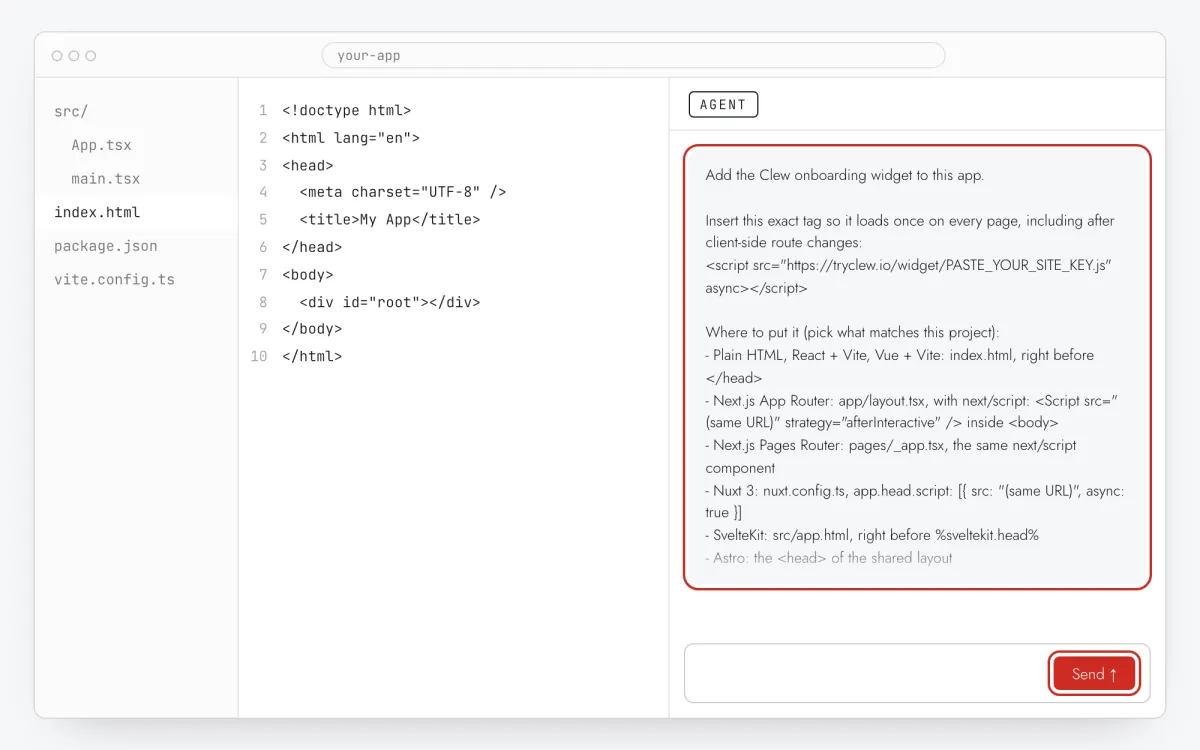
Step 3 · schematic illustration - Step 04
Check the change and publish
Open the code view: expect
index.htmlwith one added line, plus the small additions from the prompt. Then press Publish — the widget works only on the published app.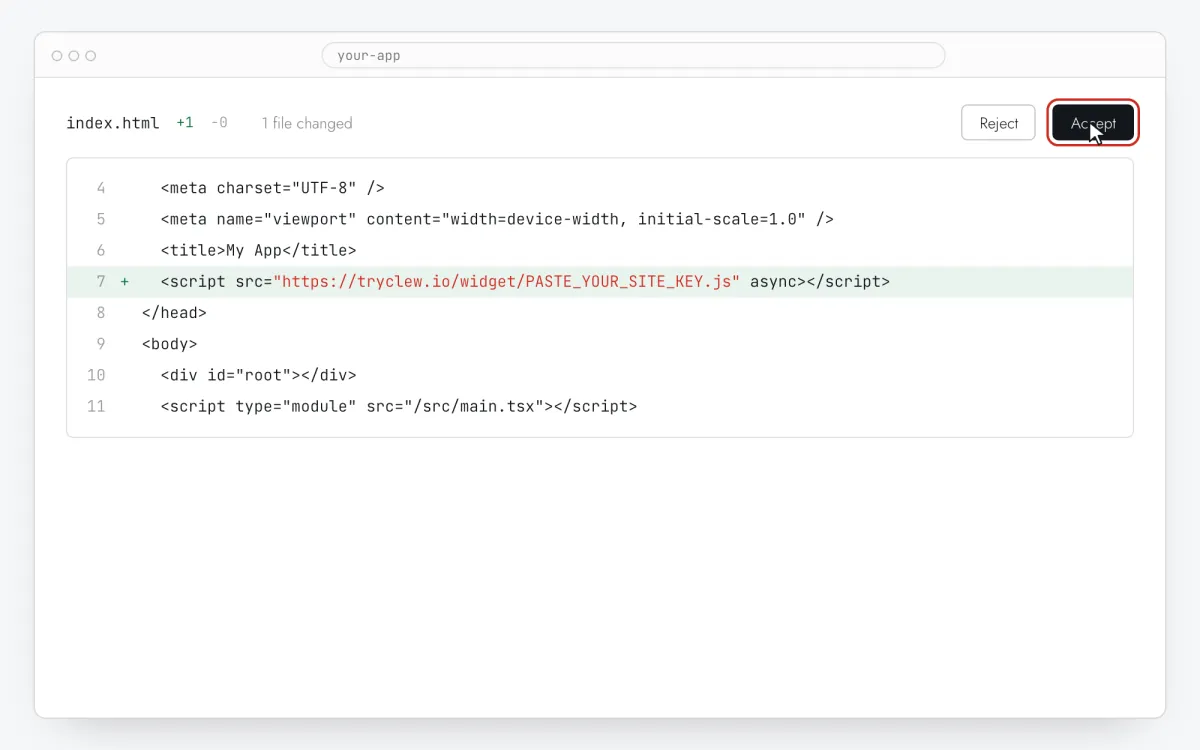
Step 4 · schematic illustration - Step 05
Create the three onboarding items
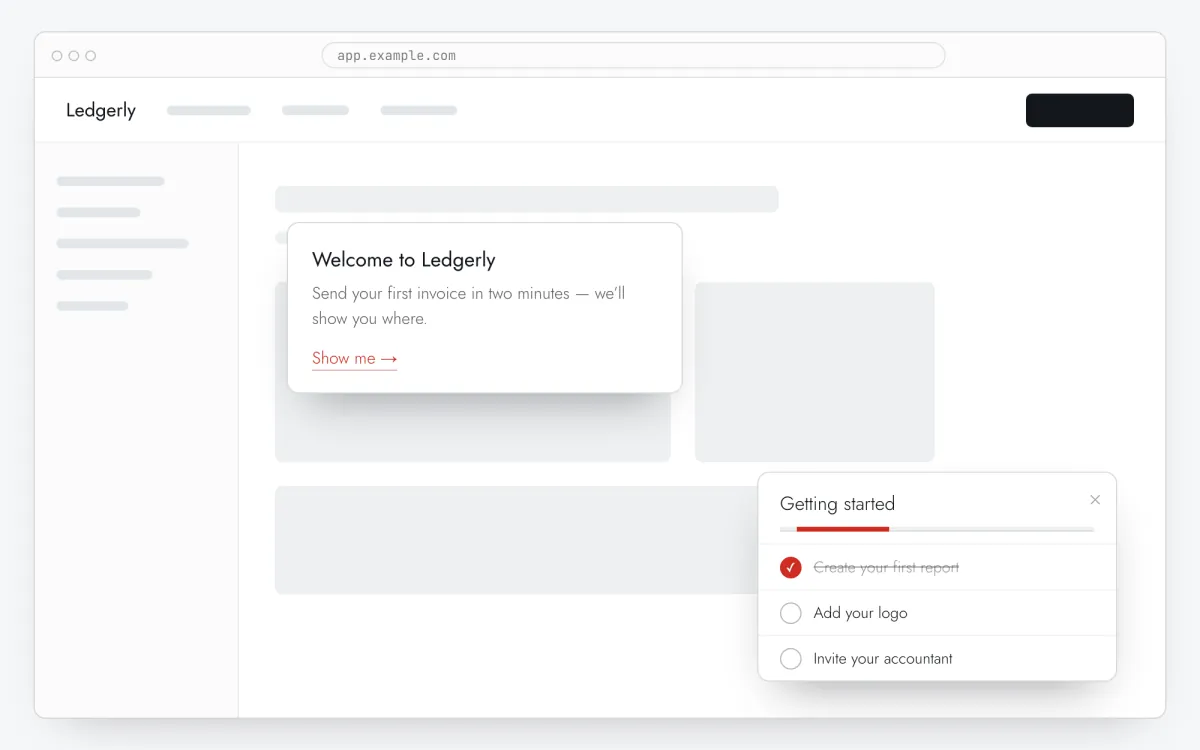
In Clew create three items in Flows: a Modal window with one welcome sentence and a link to the key screen; a Step-by-step tooltips tour of 3–4 steps on that screen, built with Edit on your site and Pick element; and a Onboarding checklist with the remaining setup tasks.
Step 5 · schematic illustration - Step 06
Choose where, when and for whom it shows
In the same editor, set Where to show (page URL), When to show, Audience targeting and Frequency. These are the settings of the example above:
Setting Value Welcome popup Format Modal window Where to show (page URL) Exact path /dashboardWhen to show Right on page load Audience targeting Property signup_sourceexistsFrequency Once per visitor Product tour Format Step-by-step tooltips Where to show (page URL) Section by prefix /habitsWhen to show Right on page load Audience targeting No rules — everyone who opens the page Frequency Once per visitor Checklist Format Onboarding checklist Where to show (page URL) Section by prefix /dashboardWhen to show On the Nth visit: 2 Audience targeting No rules — everyone who opens the page Frequency Once per visitor 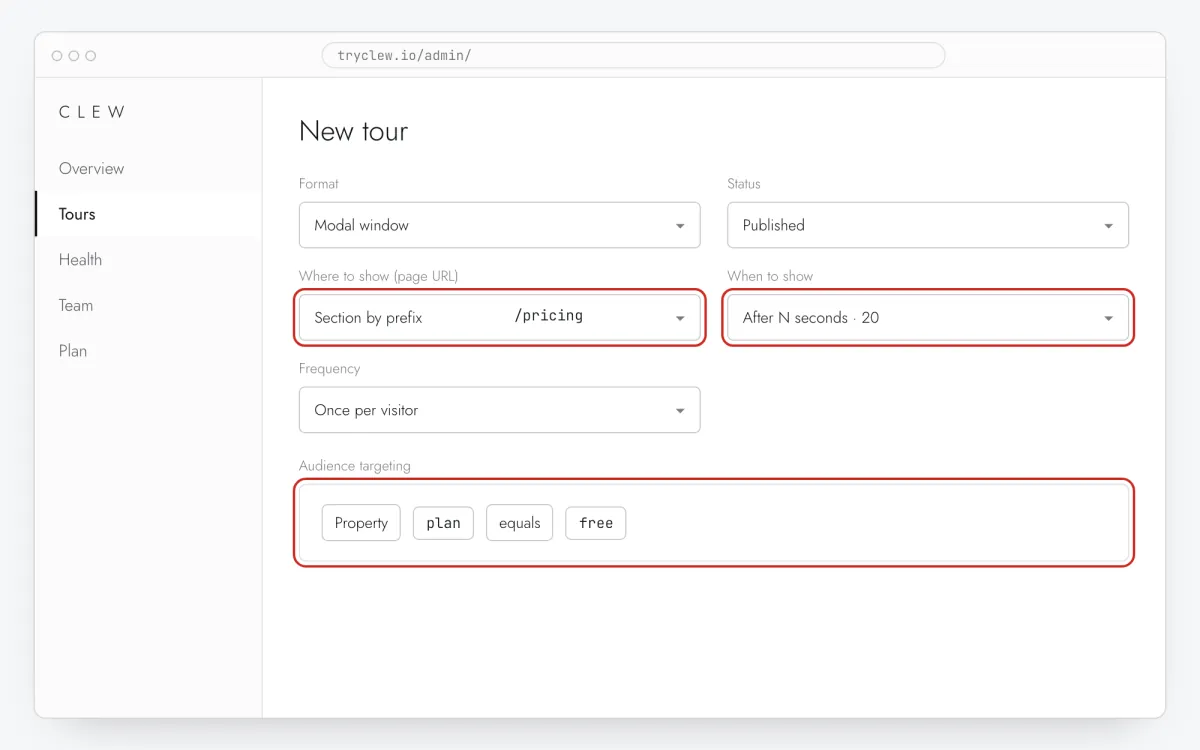
Step 6 · schematic illustration - Step 07
Publish and check it on the live site
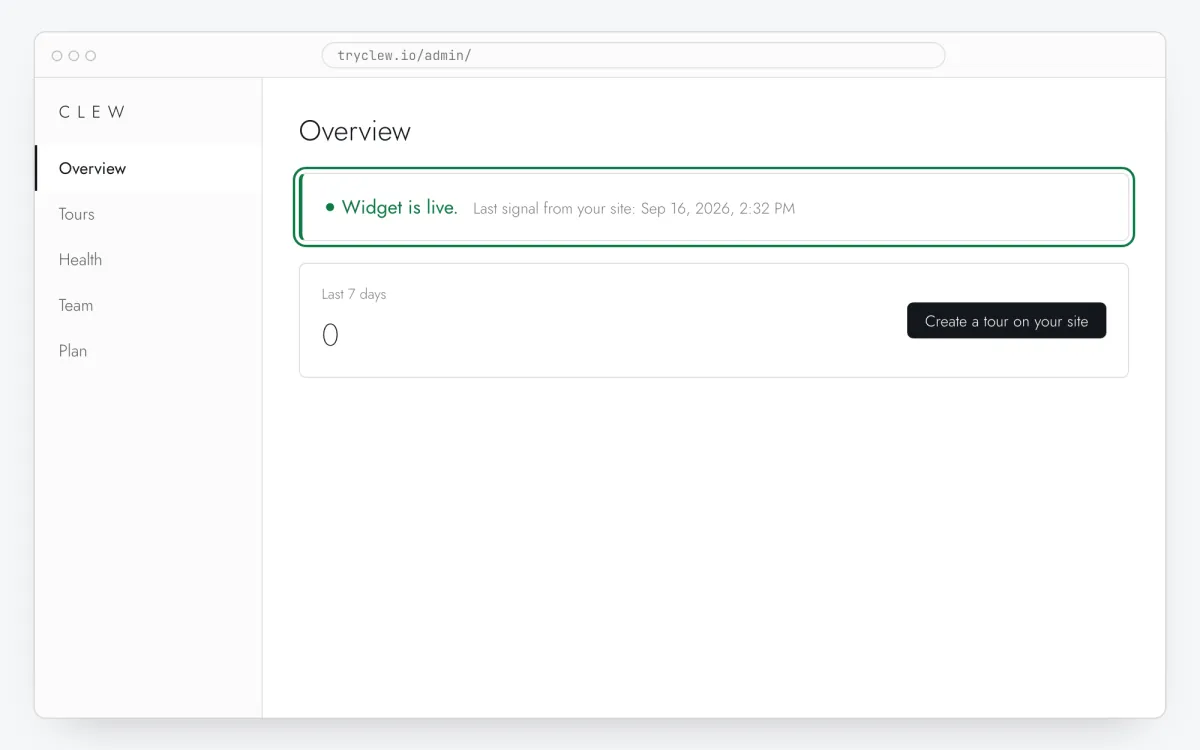
Set Status to Published and save. Open the page in a private window — Clew remembers who has already seen a “once” item, so your usual browser may skip it. Views, completions and drop-offs appear in the tour stats.
Step 7 · schematic illustration
Pitfalls: user onboarding in a Lovable app
Supabase auth loads after the page
Lovable apps usually sign users in with Supabase, so the user is known a moment after load. That’s fine: Clew.identify() re-checks the rules whenever it is called, and the user onboarding appears then.
The editor preview is not your published app
Build and test the user onboarding on the published URL (or your custom domain). URL rules compare paths, so the same settings work for both.
The welcome popup must not fire for existing users
“Once per visitor” is per browser: an old customer on a new laptop is a new visitor. If your app knows the user, add a rule on a property like onboarded so long-time users skip the welcome.
Don’t start everything on one page
If the popup, the tour and the checklist all match the same URL, only one starts and the others wait. Give each item its own page or trigger, as in the table above.
Questions and answers
What if a user signs up on mobile?
The widget works in mobile browsers; keep welcome text short and tour steps on elements visible on small screens.
Will the next Lovable prompts remove the line?
Usually not — it lives in index.html. If Admin → Overview stops showing “Widget is live” after a big regeneration, send the prompt again.
Which parts are free?
Tours are free on the Free plan. The welcome popup, the checklist and audience rules are in Pro; the 14-day trial includes them all, no card.
How long does it take?
About forty minutes for a first version: ten for the popup, twenty for the tour, ten for the checklist. Then improve by the funnel.