How to create a product tour in a Bolt.new app without a developer
A guided walkthrough in a Bolt.new app in about twenty minutes: install one line, click through your own interface in the visual editor, and publish a tour that starts where new users need it.
- Time
- ● 20 minutes
- Price
- Free plan
- Who does it
- You and the Bolt chat
Example: a product tour in a Bolt.new app
A client portal for freelancers built with Bolt.new: clients sign in to approve work. On /projects a 4-step tour shows where the latest deliverable is, how to approve it and where to leave comments.
Free on the Clew Free plan — no card, no time limit: one site and up to 3 published tours or tooltips. Audience rules and A/B tests come with Pro.
How to build the product tour in a Bolt.new app, step by step
- Step 01
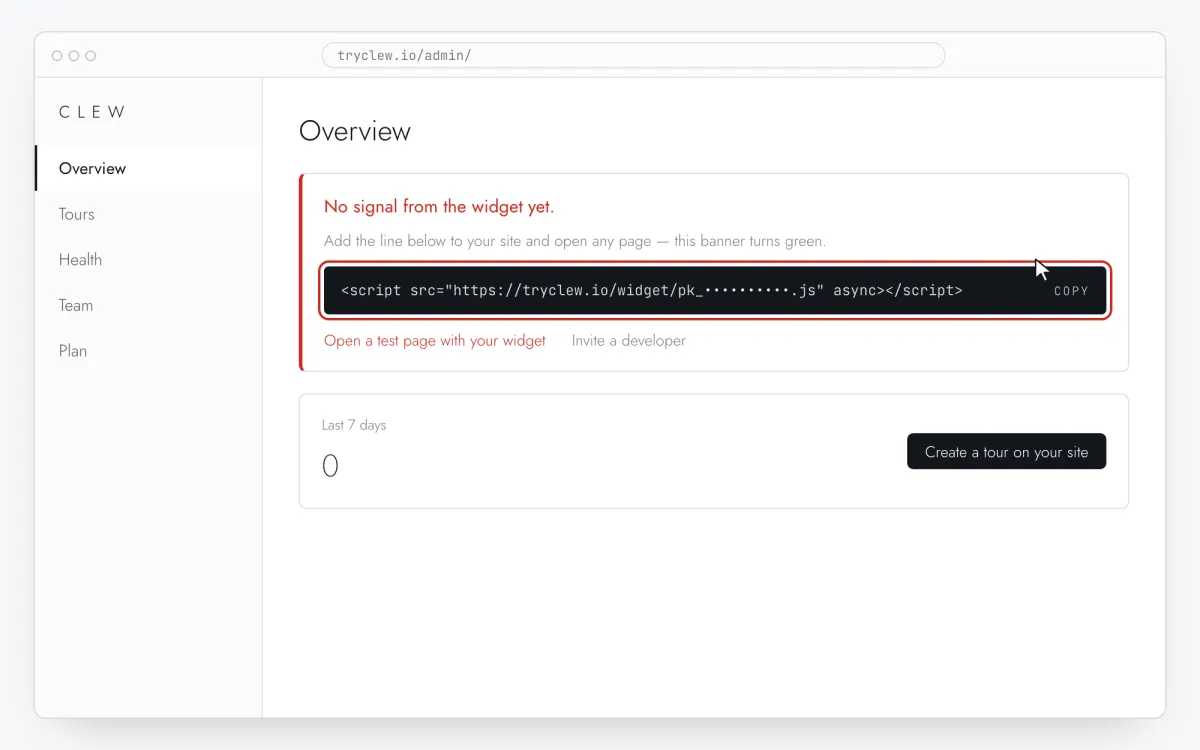
Copy your Clew snippet
Create a free account (or sign in), add your site and open Admin → Overview. Click the line in the “No signal from the widget yet.” card to copy it — it carries your real site key instead of the placeholder.
<!-- Clew: replace PASTE_YOUR_SITE_KEY with the site key from Admin > Overview -->
<script src="https://tryclew.io/widget/PASTE_YOUR_SITE_KEY.js" async></script>
Step 1 · schematic illustration - Step 02
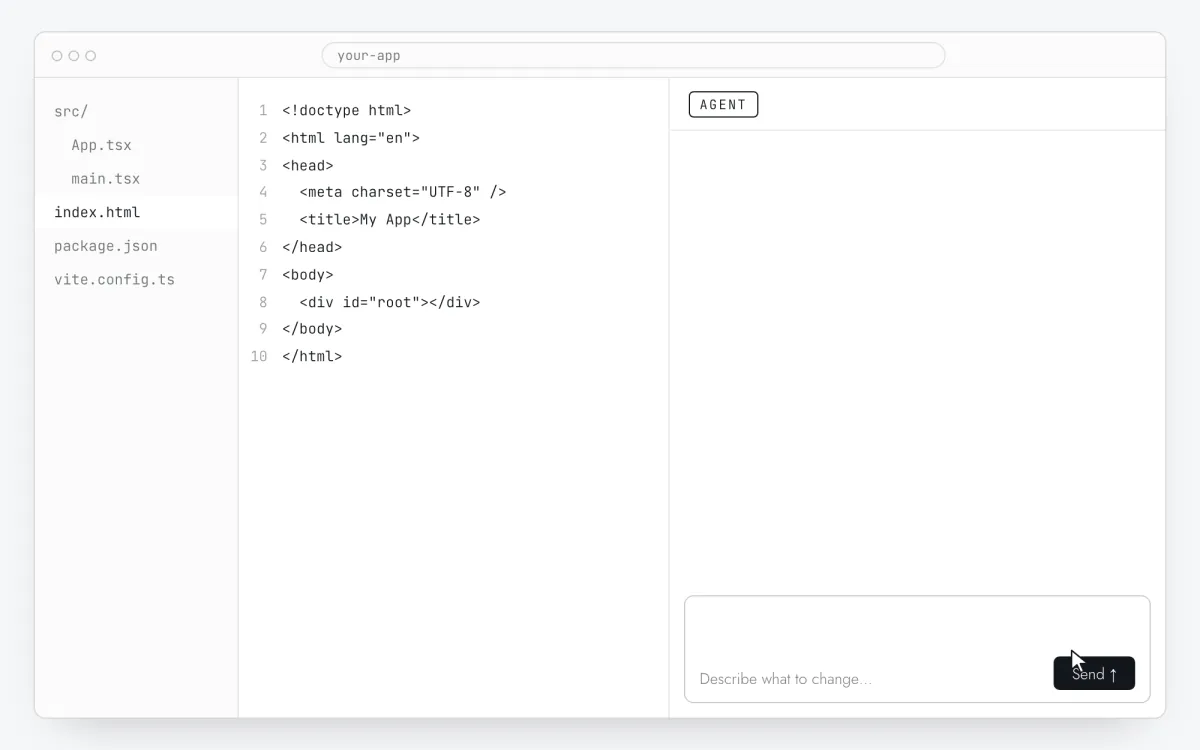
Open the project in Bolt.new
Open the project at bolt.new. Bolt runs it in the browser and edits files from the chat.
Step 2 · schematic illustration - Step 03
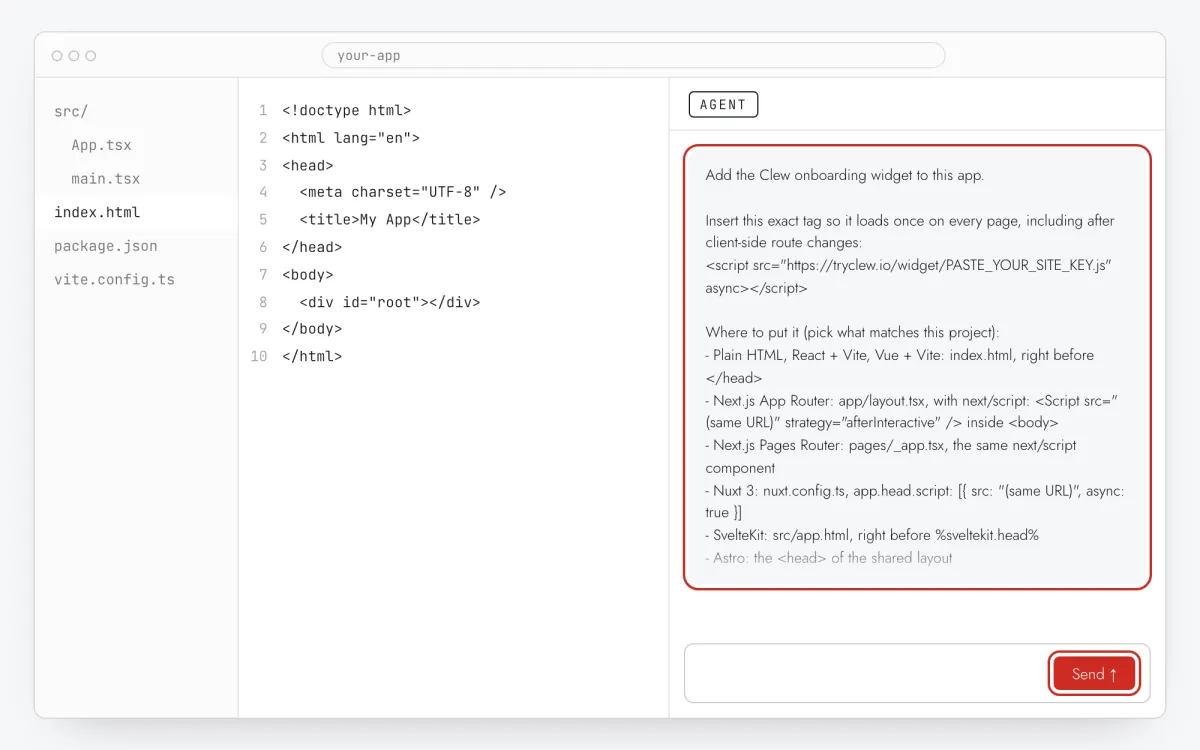
Send the prompt with your key
Replace
PASTE_YOUR_SITE_KEYwith your key and send the prompt below. It covers the tag and what the product tour needs.Add the Clew onboarding widget to this app. Insert this exact tag once so it loads on every page, including after client-side route changes: <script src="https://tryclew.io/widget/PASTE_YOUR_SITE_KEY.js" async></script> This is a Bolt.new project (usually Vite): put the tag in the root index.html right before </head>; if it is Next.js, use next/script in the root layout. Also add stable data-tour attributes to the elements a product tour will point at: the main navigation, the primary create/add button, the main filter or search, and the page heading — for example data-tour="create-button". Do not change their styles, text or behaviour. Rules: - Use the script URL exactly as given. Do not download it, bundle it or install an npm package. - If the project sets a Content-Security-Policy, allow https://tryclew.io in script-src and connect-src. - Change nothing else and show me the diff.
Step 3 · schematic illustration - Step 04
Review the files and deploy
Check that
index.htmlgot one line and nothing was installed from npm, then press Deploy (Netlify or Bolt hosting). The preview inside Bolt doesn’t count as the live app.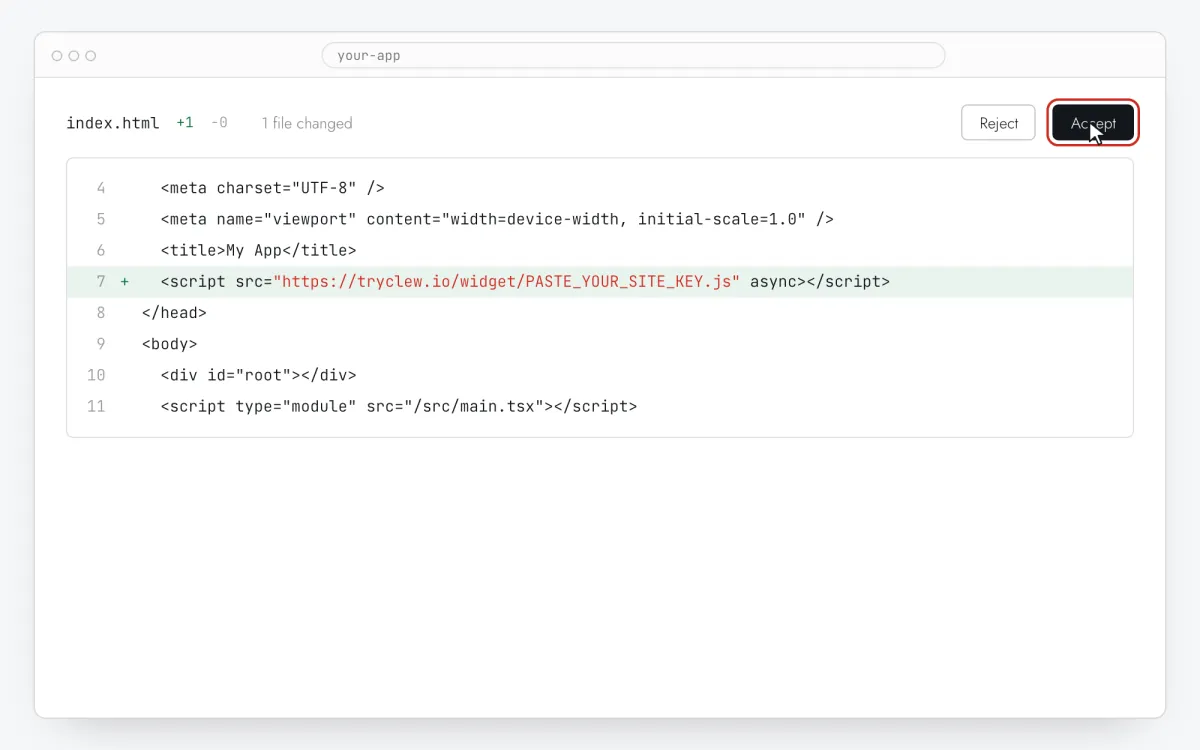
Step 4 · schematic illustration - Step 05
Build the tour on top of your page
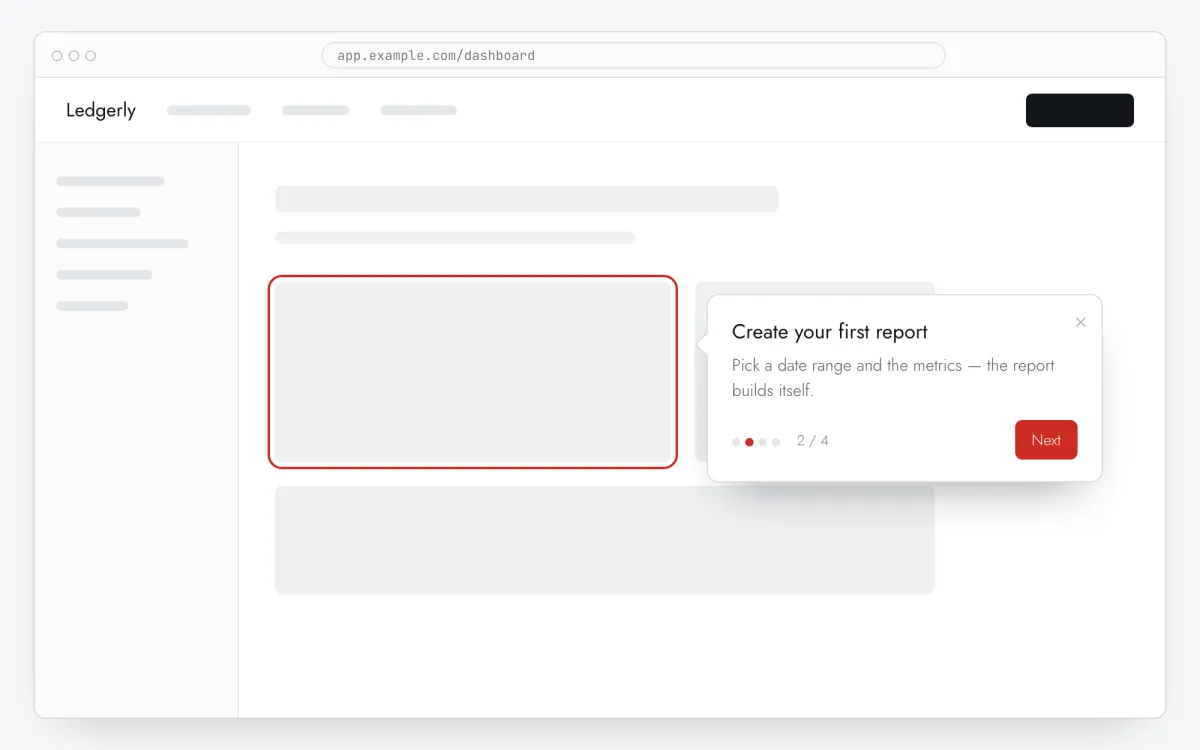
In Clew open Flows → + New flow, keep Format at Step-by-step tooltips and press Edit on your site. On your page press Pick element and click the element for step 1, then write a title and one or two sentences. Repeat for 3–5 steps; the preview updates as you type.
Step 5 · schematic illustration - Step 06
Choose where, when and for whom it shows
In the same editor, set Where to show (page URL), When to show, Audience targeting and Frequency. These are the settings of the example above:
Setting Value Format Step-by-step tooltips Where to show (page URL) Section by prefix /projectsWhen to show Right on page load Audience targeting No rules — everyone who opens the page Frequency Once per visitor 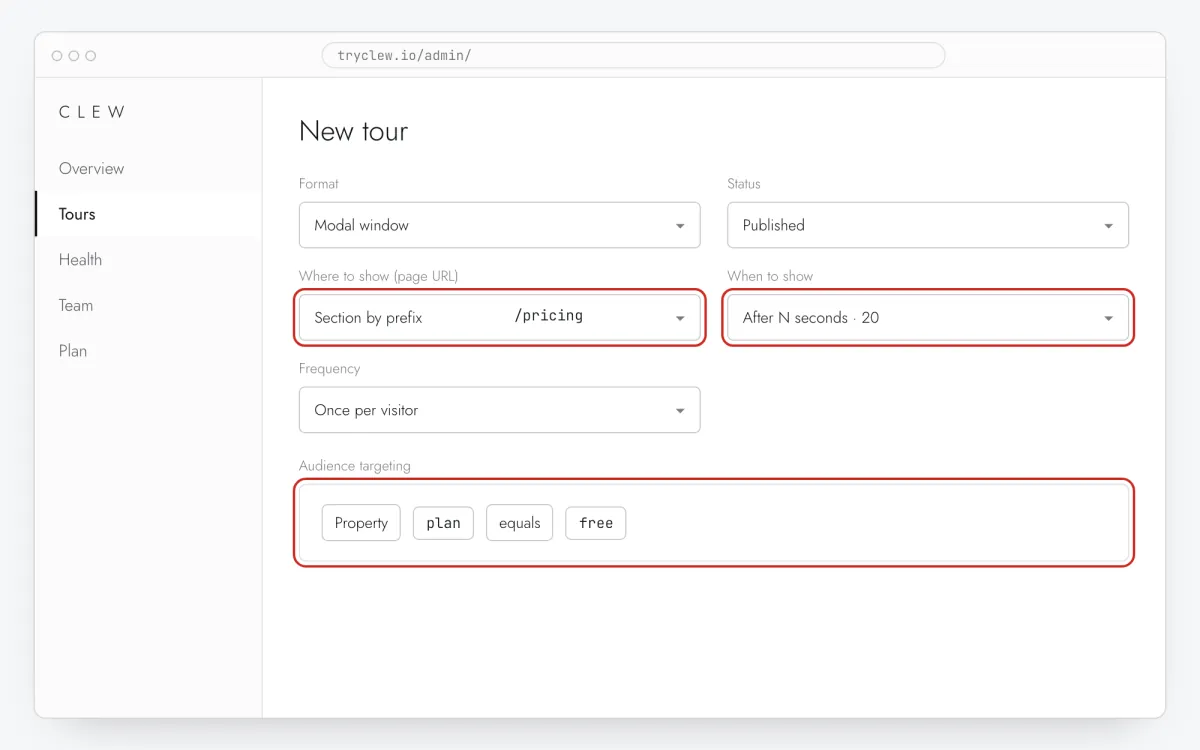
Step 6 · schematic illustration - Step 07
Publish and check it on the live site
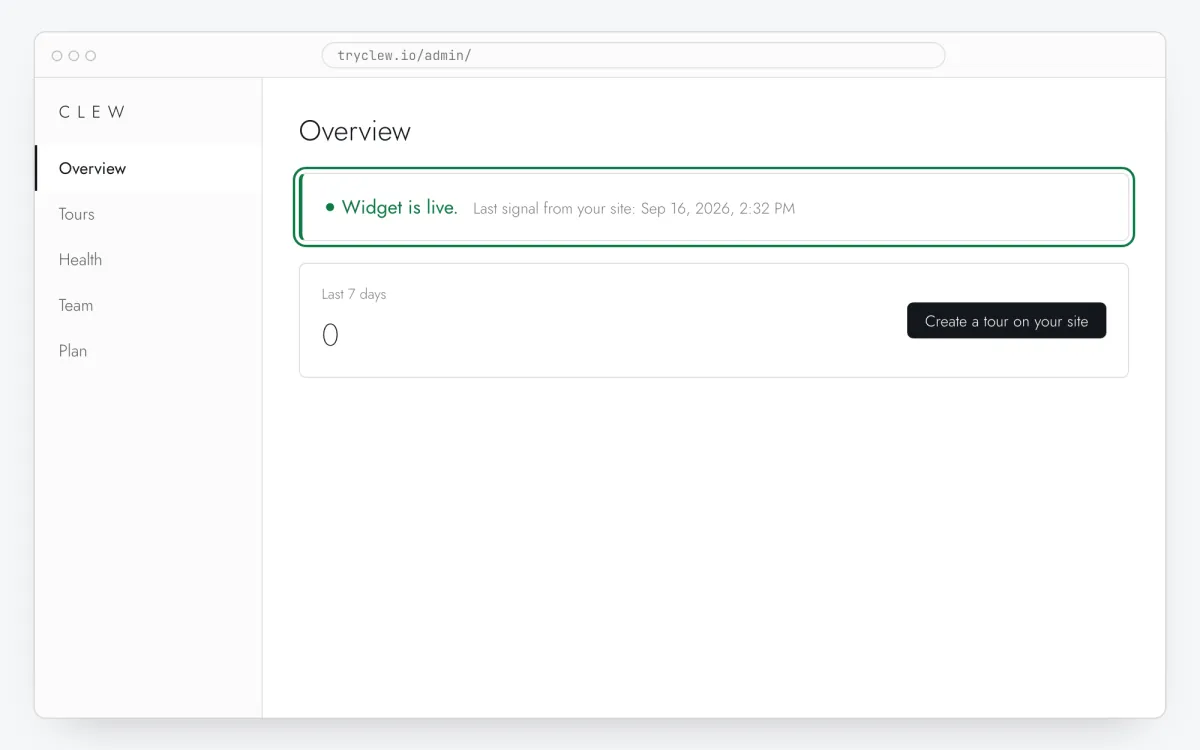
Set Status to Published and save. Open the page in a private window — Clew remembers who has already seen a “once” item, so your usual browser may skip it. Views, completions and drop-offs appear in the tour stats.
Step 7 · schematic illustration
Pitfalls: product tour in a Bolt.new app
The in-browser preview runs on a temporary origin
Bolt’s preview URL changes between sessions. Test the product tour on the deployed domain; paths in URL rules stay the same.
A “fix it” prompt may rewrite index.html
When Bolt regenerates the project template, the tag can disappear. After large regenerations, check Admin → Overview for “Widget is live”.
Generated class names change on every rebuild
AI-built apps often use utility classes or hashed CSS modules. A selector like .bg-blue-600.px-4 breaks after the next prompt. That’s why the prompt above asks for data-tour attributes: pick those elements and the tour survives regenerations.
Questions and answers
Does the tour work after Bolt redeploys?
Yes, as long as the elements keep their data-tour attributes.
Do I need to download the code from Bolt?
No. Bolt edits the project and deploys it; the Clew line goes in with one prompt.
Is the product tour free?
Yes — tours are on the Free plan with up to 3 published. You only need Pro for audience rules, A/B tests and more tours.
Can’t I just ask the AI to build the tour?
You can, but then every text change is a new prompt, a new diff and a new deploy, and you get no stats. With Clew the AI adds one line and a few attributes once; the tour itself is edited in minutes by anyone on the team.
What else you can add in a Bolt.new app
- How to add an onboarding checklist in a Bolt.new app without a developer
- How to set up user onboarding in a Bolt.new app without a developer
- How to add a paywall upgrade prompt in a Bolt.new app without a developer
Product tour on other platforms
- Google Tag ManagerHow to create a product tour via Google Tag Manager without a developer
- WordPressHow to create a product tour on WordPress without a developer
- LovableHow to create a product tour in a Lovable app without a developer
- v0How to create a product tour in a v0 app without a developer
- ReplitHow to create a product tour in a Replit app without a developer
- CursorHow to create a product tour in an app built with Cursor without a developer
- Claude CodeHow to create a product tour with Claude Code without a developer
- ChatGPT CodexHow to create a product tour with ChatGPT Codex without a developer
- Qwen CodeHow to create a product tour with Qwen Code without a developer